How to Make a Mini Scrapbook Album from One Sheet of Cardstock
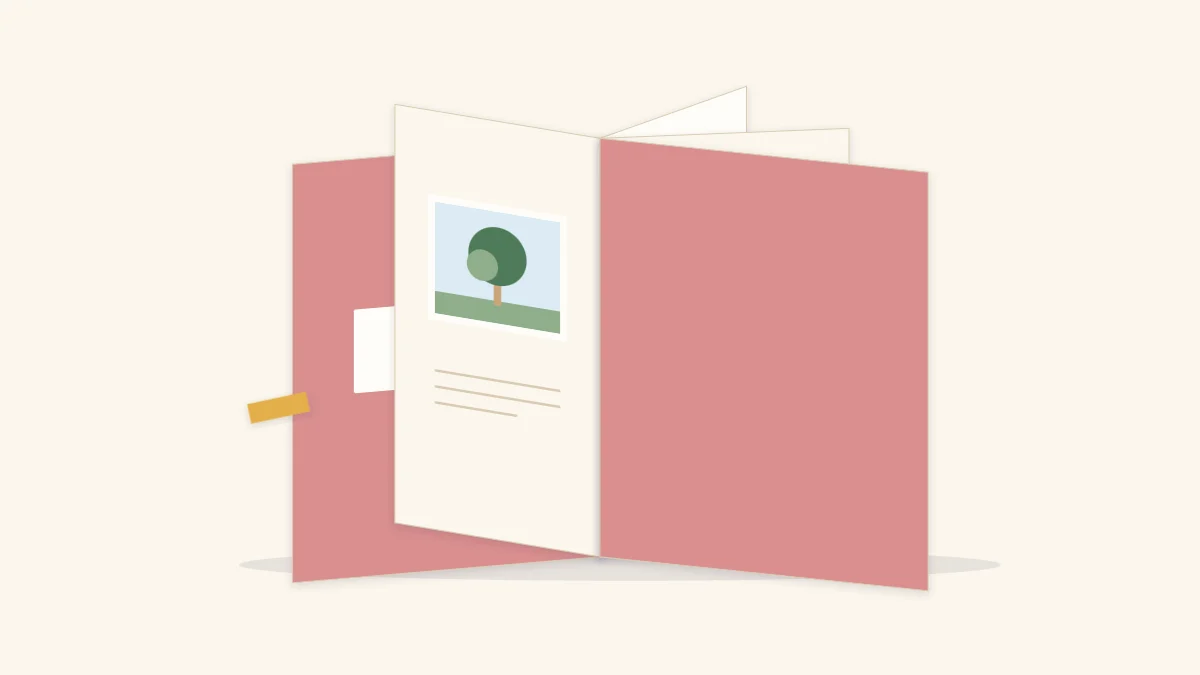
Fold one sheet into eight sections, make a single cut through the center and push it into a booklet with two covers and six inside pages. No binding needed.
Tutorial at a glance
Materials
- One sheet of light cardstock or sturdy patterned paper
- Scissors or a craft knife with a cutting mat
- Metal ruler
- Bone folder or the back of a spoon
- Tape runner or glue stick
- Small photo copies
- Paper offcuts
- Pen and pencil
A mini scrapbook album does not need rings, staples or a binding of any kind. One sheet of paper, folded into eight sections and cut once through the center, turns into a small booklet with a front cover, a back cover and six inside pages. It is a good home for a handful of photos from a single day that would feel lost in a full-size album.
The fold is the same every time, so once you have made one you can repeat it with any rectangular or square sheet. The only things that change are the size of the finished pages and how you decorate them.
Choose the sheet
The finished page is one quarter of the sheet’s width and half its height, so a larger sheet gives a roomier booklet.
| Sheet | Finished page (approx.) | Notes |
|---|---|---|
| 8.5 x 11 in (21.6 x 27.9 cm) | 2 3/4 x 4 1/4 in (7 x 10.8 cm) | Pocket-size; good for practice |
| 12 x 12 in (30.5 x 30.5 cm) | 3 x 6 in (7.6 x 15.2 cm) | Tall, narrow pages with room for a photo and a note |
All eight pages come from the same side of the sheet; the other side ends up hidden inside the folds. That makes single-sided patterned paper a sensible choice, as long as you fold it with the printed side facing out. Very heavy cardstock resists this many folds and can crack along the creases, so pick a lighter cardstock or a sturdy patterned paper, and score the lines first if the sheet feels stiff.
What you need
- One sheet of light cardstock or sturdy patterned paper
- Scissors, or a craft knife with a cutting mat and a metal ruler
- A bone folder, or the back of a spoon, to sharpen creases
- A tape runner or glue stick
- Small photos, paper offcuts and a pen for decorating
Fold and cut the sheet
Work on a clean, hard surface and line up the edges carefully at each fold. Small errors early on show up as pages that do not match at the end.
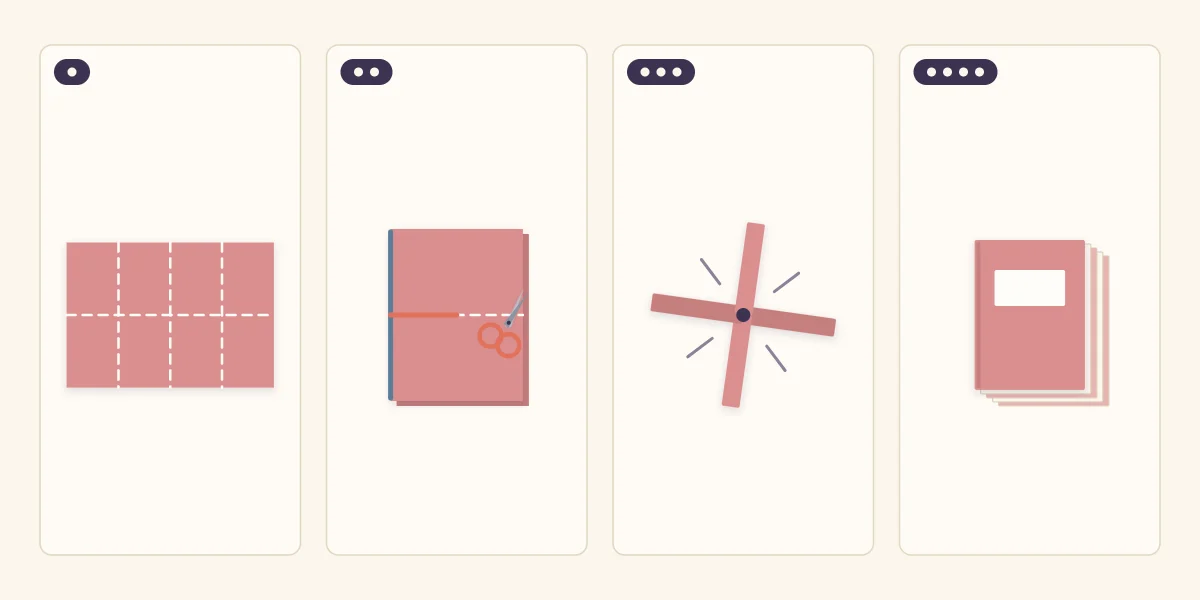
- Fold lengthwise. Lay the sheet with a long edge toward you, plain side up. Bring the far long edge down to meet the near one, crease and unfold.
- Fold crosswise. Bring the left short edge over to the right short edge and crease. Leave it folded.
- Fold crosswise again. Fold the doubled sheet in half once more in the same direction and crease firmly. Unfold everything. The creases now divide the sheet into eight equal rectangles, four across and two down.
- Make the center cut. Refold the sheet in half crosswise, as in step 2. Starting at the middle of the folded edge, cut along the lengthwise crease and stop at the next crease, halfway across the folded sheet.
- Open and refold. Open the sheet flat. The slit sits in the center, running along the two middle sections. Fold the sheet lengthwise again, this time with the decorative side out and the slit along the top fold.
- Push into a plus. Hold the two ends of the folded strip and push them toward each other. The slit opens into a diamond; keep pushing until the sections meet and form a plus shape when seen from above.
- Close the booklet. Fold the four arms of the plus around in one direction so they stack, then press the spine with the bone folder.
Watch out
Stop the cut exactly at the crease. A cut that runs past it splits the booklet into loose pieces, and one that stops short keeps the plus shape from forming. If you use a craft knife, cut on a mat with your fingers behind the blade, and do the cutting yourself when children are helping.
Firm up the pages
Each leaf of the booklet is a double layer of paper. Left as it is, the album stays springy and tends to fan open. Running a tape runner or glue stick between the two layers of each leaf makes the pages stiffer and flatter, which matters if you plan to add photos.
Decorate the small pages
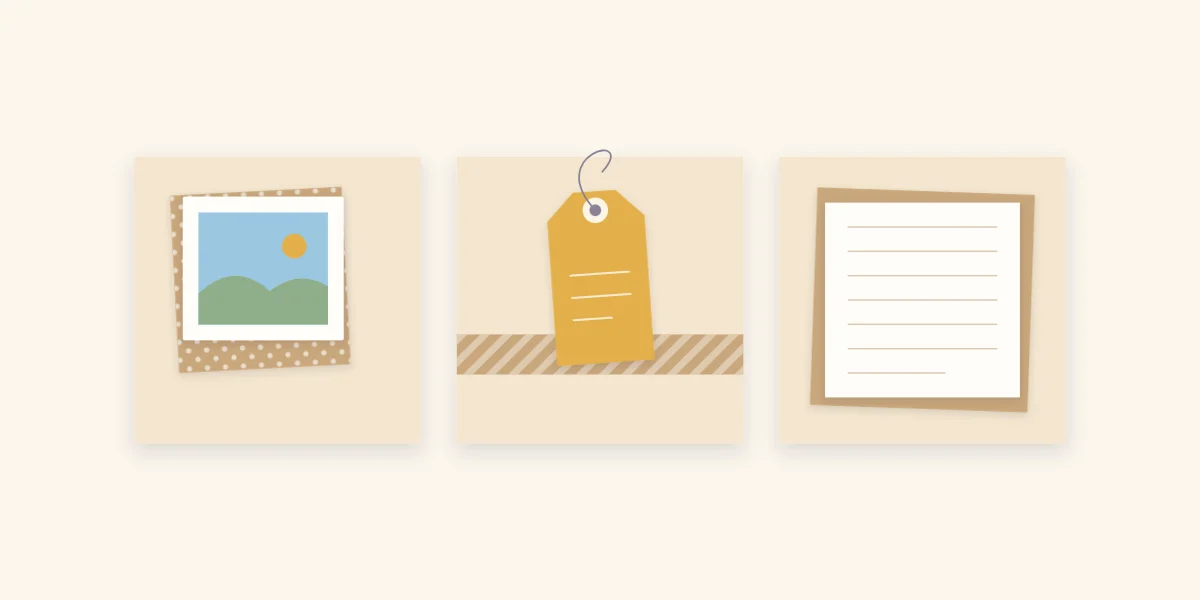
A page this size holds one main element. Give each page a single job: a photo, a tag or a few lines of writing.
- Photo pages. Trim each photo so that a narrow border of the page shows all around, or add a thin mat about 1/8 inch (3 mm) wide. The guide to cropping and matting photos covers how to trim without losing the subject. Use copies rather than original prints, since pictures need to be cut small.
- Tag and strip pages. A small tag over a strip of contrasting paper fills a page that has no photo and gives the eye a rest between pictures.
- Journaling pages. Rule a few light pencil lines and write a date, a place or a short note. For more placements, see these journaling ideas.
Keep to two or three colors across the whole booklet so the pages read as a set. Leftover strips are the right scale for a project this small, and the paper scrap ideas show how to sort them for quick use.
Tip
Keep everything flat. Foam adhesive, buttons and thick layers stop a folded booklet from closing, so save dimension for the front cover.
Cover and closure
The front and back covers are simply the first and last pages. Glue a rectangle of contrasting cardstock, cut slightly smaller than the page, to each one for a sturdier feel, and add a blank title strip or a small shape to the front.
To keep the booklet shut, wrap a narrow strip of paper around it, overlap the ends at the back and glue them to each other, not to the album. The band slides off and on.
When you need more pages
This fold always gives eight pages, covers included. For a longer story, make two booklets from matching paper and glue the back cover of the first to the front cover of the second. If you would rather see every page at once on a shelf, an accordion mini album folds out into a single long strip and can be extended as far as you like.
Frequently asked questions
How many pages does a one-sheet mini album have?
The fold gives eight pages in total: a front cover, a back cover and six inside pages. For more, make a second booklet from matching paper and glue its front cover to the back cover of the first.
Why will my folded sheet not push into a plus shape?
The center cut is usually too short. It has to run along the lengthwise crease across the two middle sections, from one cross crease to the next. Check that the sheet is folded lengthwise with the slit along the top fold before pushing the ends together.
What paper works best for this fold?
A lighter cardstock or a sturdy patterned paper folds cleanly and still holds its shape. Very heavy cardstock can crack along the creases after so many folds, so score the lines first if you use it. Single-sided paper is fine because only one side of the sheet shows.