Scrapbook Journaling Ideas: Where to Put the Words on a Page
Plan the written part of a layout as carefully as the photos: choose a shape for the journaling area, place it where it reads easily and rule guidelines first.
Tutorial at a glance
Materials
- plain light-colored cardstock
- pencil
- ruler
- soft eraser
- pen tested on the same paper
- paper trimmer or scissors
- tape runner
Photos show what something looked like. Journaling, the written part of a page, records what a picture cannot: when it was, where, who was there and why it mattered. These scrapbook journaling ideas deal with the practical side of that writing, meaning where the words go on a layout, what shape the writing area takes and how to keep handwritten lines straight.
Journaling is most often skipped because no space was left for it. Plan the writing area at the same stage as the photos and title, and the words stop being an afterthought squeezed into a corner.
Decide how much you want to say
The amount of text decides the size and shape of the area, so settle it before cutting anything. Three levels cover most pages:
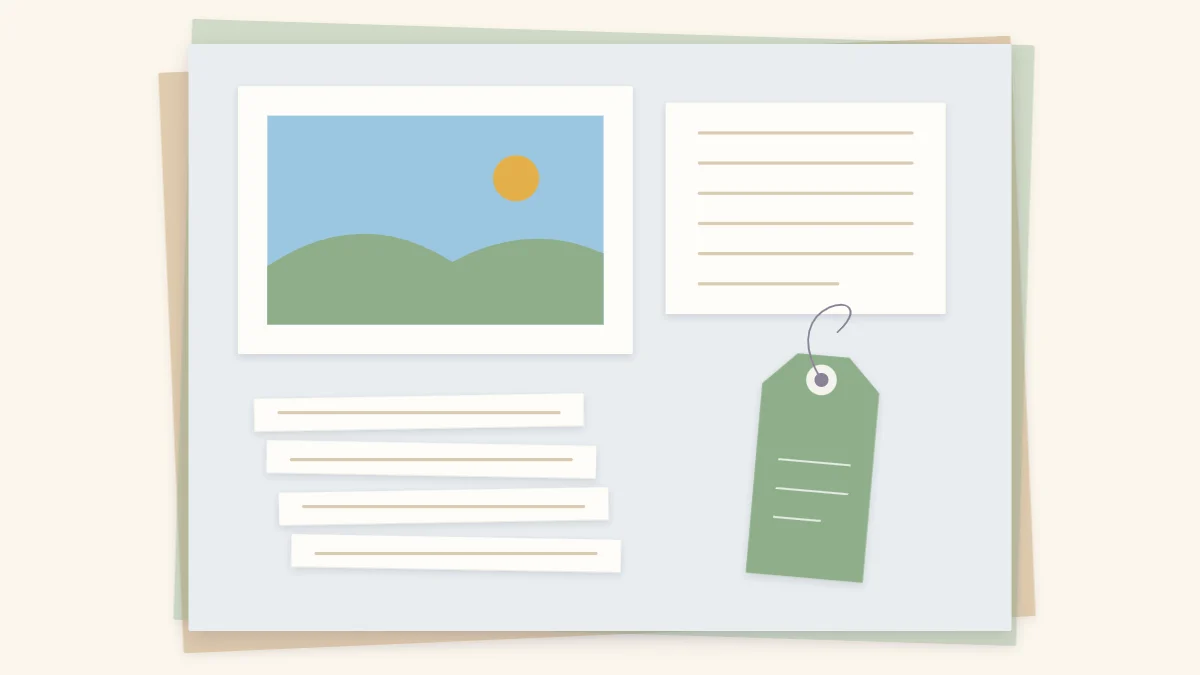
- A caption: a date, a place and a few words. A single strip or a small tag is enough.
- A short paragraph: three to six lines. This needs a block or a set of strips.
- A full account: more than will fit comfortably on show. This belongs on a card in a pocket or under a flap.
Draft the text on scrap paper first, in handwriting the size you will actually use. Count the lines, and you know how tall the journaling area must be.
Five shapes a journaling area can take
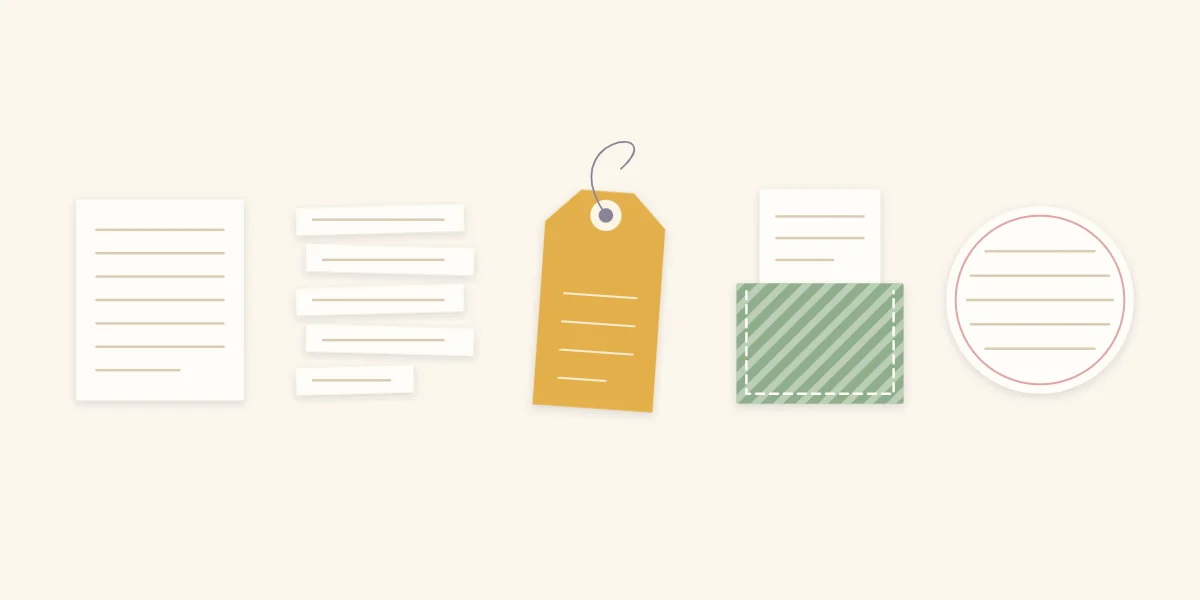
The writing does not have to sit in a plain rectangle. Each of these shapes suits a different amount of text and a different kind of layout.
| Shape | Best for | Where it sits well |
|---|---|---|
| Lined block | A paragraph | Beside or below the focal photo |
| Narrow strips | Short lines or a list | Stacked under a photo, staggered or aligned |
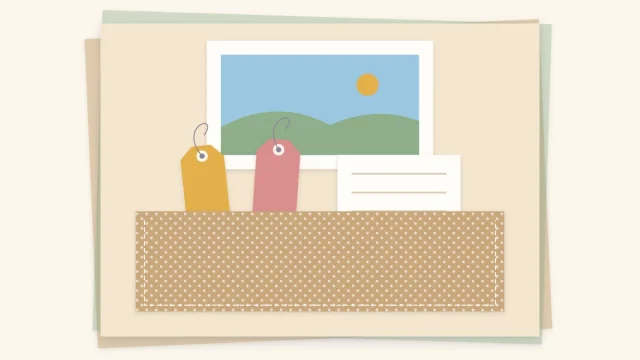
| Lined tag | A caption or a few lines | Tucked behind a photo or in a cluster |
| Card in a pocket | Long or private text | Lower part of the page, pulled out to read |
| Circle | Very short text | As an accent, overlapping a photo corner |
A lined block is the default: a rectangle of plain, light cardstock with ruled lines. It is the easiest to write on and holds the most words on display.
Strips are cut one line tall, with each line of text on its own strip. They are forgiving, because a mistake means rewriting one strip instead of the whole block, and they can be spaced out to fill an awkward gap.
A tag doubles as an embellishment. Rule the lines across the lower part and leave the area around the hole clear. Cutting instructions are in the guide to making scrapbook tags.
A card in a pocket gives you both sides to write on and keeps long text out of the design; see pockets and hidden journaling for how to build one.
A circle has lines of different lengths, shortest at the top and bottom, so it only suits a handful of words.
Where to place journaling on the page
Readers look at the focal photo first, then the title, then the words. Placement should make that path easy.
- Keep it near the photo it describes. Text on the far side of the page from its subject forces the eye to jump back and forth.
- Align it with something. Line up one edge of the journaling area with a photo edge or the title. An aligned block looks placed; a floating one looks leftover.
- Give it quiet ground. Writing on busy patterned paper is hard to read. Use a plain, pale piece, and let the pattern show around it.
- Stay clear of the edges. Leave a margin inside the journaling area and keep the area itself away from the binding side of the page.
On a page with several photos, one shared block near the group usually works better than a caption under each picture. The guide to focal points, balance and white space explains how the block fits into the layout as a whole.
Rule guidelines before you write
Handwriting drifts upward or downward on unlined paper. Light pencil guidelines prevent that and take very little effort.
- Cut the journaling piece to size and lay it on a flat surface.
- Decide the line spacing from your test draft. About 1/4 in (6 mm) suits small, neat handwriting; larger writing needs more.
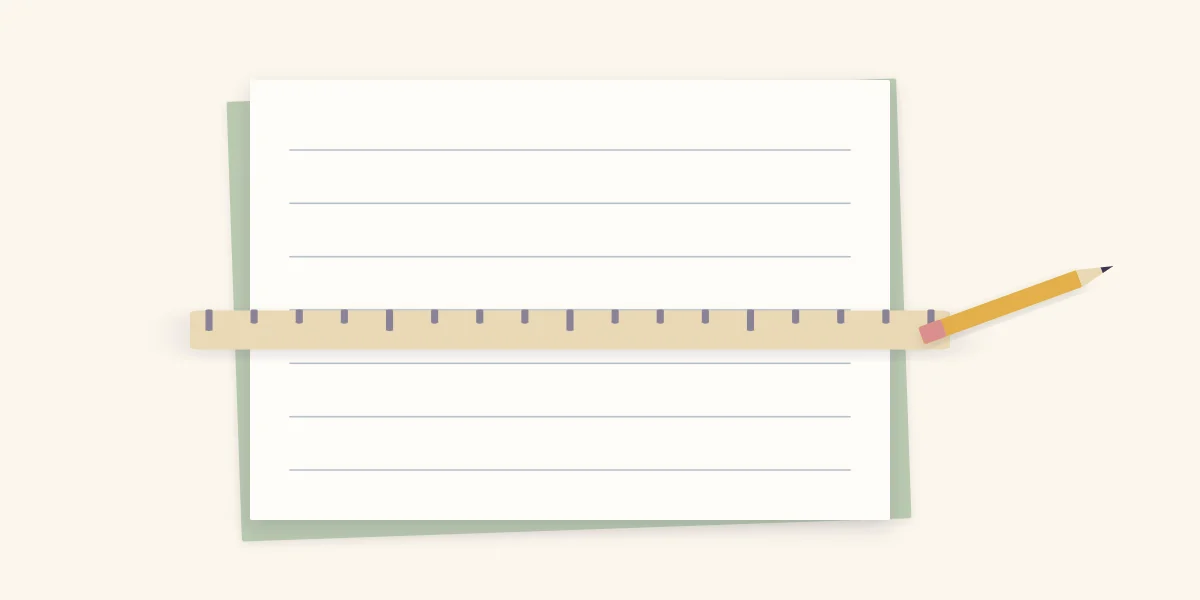
- Make small tick marks at that spacing down both the left and right edges of the piece, measuring from the top edge each time.
- Lay the ruler across each pair of ticks and draw a faint pencil line, pressing lightly so the line does not dent the paper.
- Write in pen, resting the letters on the lines.
- Let the ink dry completely, then erase the pencil with a soft eraser in gentle strokes.
Marking both edges is what keeps the lines parallel. Ticks on one side only let the ruler pivot, and the lines fan out.
Watch out
Test your pen on a scrap of the same paper first. Some inks feather on textured cardstock or smear when erased over too soon, and coated papers can stay wet longer than expected.
Prompts for what to write
When the area is ready and the words will not come, work through plain questions about the photos in front of you:
- When and where was this, as exactly as you know?
- Who is in the picture, and who was there but out of frame?
- What happened just before or just after?
- What could be heard, smelled or felt that the photo does not show?
- Why did this photo make it onto the page?
Facts first, then one detail only you would know, is a reliable pattern. A list of short phrases counts as journaling too.
Tip
Write on a separate piece and glue it down afterward, never directly on the background. If a line goes wrong, you replace one small block instead of rebuilding the layout.
If you dislike your handwriting
Handwriting is part of the record, but it is not the only option. You can print text on plain paper and trim it into a block or strips, keep handwriting to a short caption, or put longer handwritten text on a pocket card where it is not on display. If you are new to building pages, the beginner’s guide shows where journaling fits in the order of work.
Frequently asked questions
Where should journaling go on a scrapbook page?
Place it close to the photo it describes and line up one of its edges with a photo or the title. Use plain, pale paper so the writing is easy to read, and keep the area away from the page edges and the binding side.
How do you write in straight lines on a scrapbook page?
Mark equal intervals down both side edges of the journaling piece, join each pair of marks with a faint pencil line and write on those lines. Once the ink is fully dry, erase the pencil gently with a soft eraser.
What if there is no room left for journaling?
Use a shape that takes little surface area, such as a narrow strip or a small tag tucked behind a photo. For longer text, write on a card and keep it in a pocket or under a photo that lifts as a flap.