Stitching on Scrapbook Pages: Hand-Sewn Details on Paper
Hand stitching gives a page real texture with just a needle, thread and a piercing tool. Pierce the holes first, keep the stitches simple and finish the back without knots.
Tutorial at a glance
Materials
- Embroidery floss or fine twine
- Embroidery or tapestry needle
- Paper piercer, awl or pushpin
- Foam mat or piece of craft foam
- Ruler
- Pencil and eraser
- Low-tack or washi tape
- Scissors
Stitching on scrapbook pages adds something paper alone cannot: a raised line of thread with real texture. A row of small stitches can frame a photo, hold a pocket shut, outline a shape or underline a title, and it uses nothing more than a needle, thread and a tool for making holes.
Paper is not fabric, though, and it does not forgive the same habits. A needle pushed through cardstock leaves a permanent hole, and thread pulled too hard slices through the gap between two holes. The method that works is to plan the line, pierce every hole first, and only then sew.
What you need
- Thread. Embroidery floss is the most useful, because its six strands can be separated. Two or three strands give a neat line on a page. Fine twine or pearl cotton makes a bolder stitch.
- Needle. An embroidery needle with an eye large enough for the thread. A blunt tapestry needle is easier on fingers and works well once the holes are pierced.
- Piercing tool. A paper piercer, an awl or a pushpin.
- Soft surface. A foam mat, a piece of craft foam or a folded towel under the paper, so the point can pass through.
- Ruler, pencil, eraser and tape. Low-tack or washi tape secures thread ends on the back.
Stitch on cardstock rather than thin paper. Heavier sheets hold the holes without tearing; the guide to cardstock and paper weights explains what to look for on the package.
Four stitches that work on paper
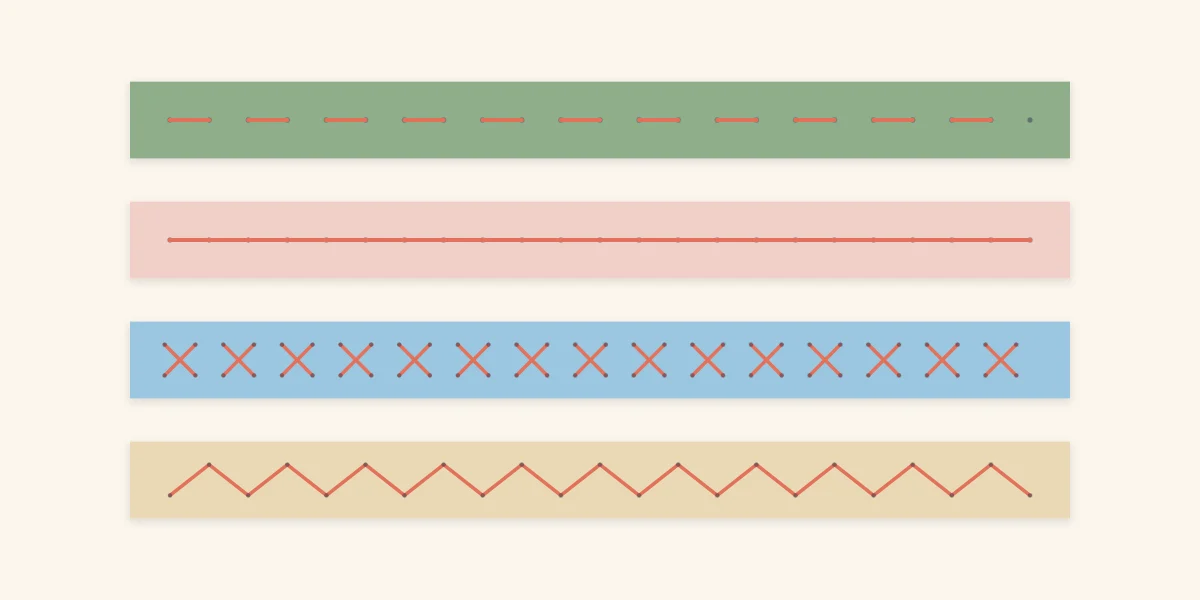
Choose the stitch before making any holes, because each one needs its own hole pattern. Simple stitches suit paper best: each passes through a hole only once or twice, while stitches that crowd many passes into one hole enlarge it and weaken the sheet.
| Stitch | How it looks | How to sew it | Good for |
|---|---|---|---|
| Running stitch | A dashed line | Up through one hole, down through the next, leaving every other gap empty | Borders, frames, faux seams |
| Backstitch | A solid line | Come up one hole ahead, then go back down into the end of the previous stitch | Outlines, shapes, underlining a title |
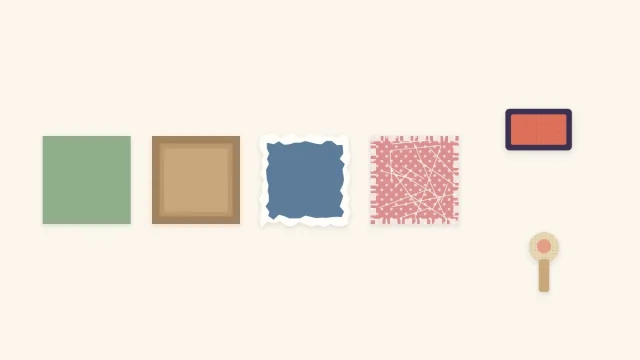
| Cross stitch | A row of small Xs | Pierce a square of four holes for each X and sew the two diagonals | Decorative bands, attaching a tag |
| Zigzag | A row of points | Pierce two parallel rows with the holes staggered, then sew from row to row | Edges of strips and mats |
A running stitch is the place to start. It uses the least thread and hides uneven tension. Backstitch needs more care, since every hole is used twice, but it gives the cleanest outline for a stitched heart, star or circle.
Pierce the holes first
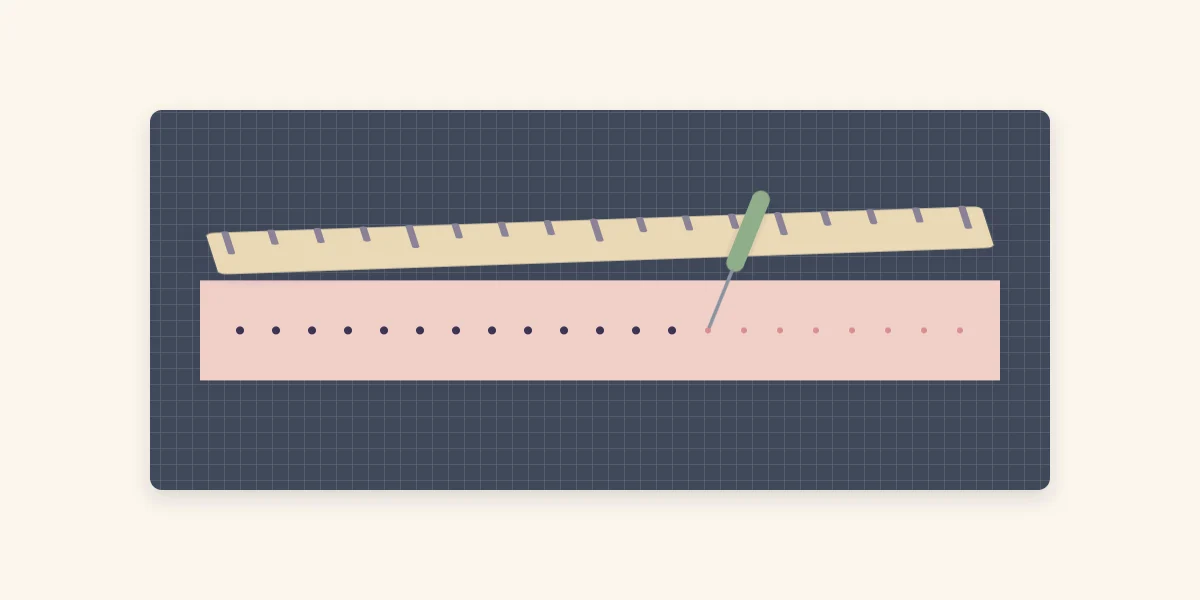
Pre-piercing is what keeps a stitched line straight and the paper flat. Sewing without holes forces the needle through from the back blind, which bends the sheet and scatters the stitches.
- Draw the stitching line lightly in pencil on the front, or on the back if the paper marks easily.
- Lay the piece on the foam mat and set a ruler along the line.
- Pierce a hole at each ruler mark, holding the tool upright. Spacing of about 1/4 inch (6 mm) suits most pages; closer than 1/8 inch (3 mm) and the paper between holes may tear.
- Pierce the whole line before threading the needle, then erase any pencil that still shows.
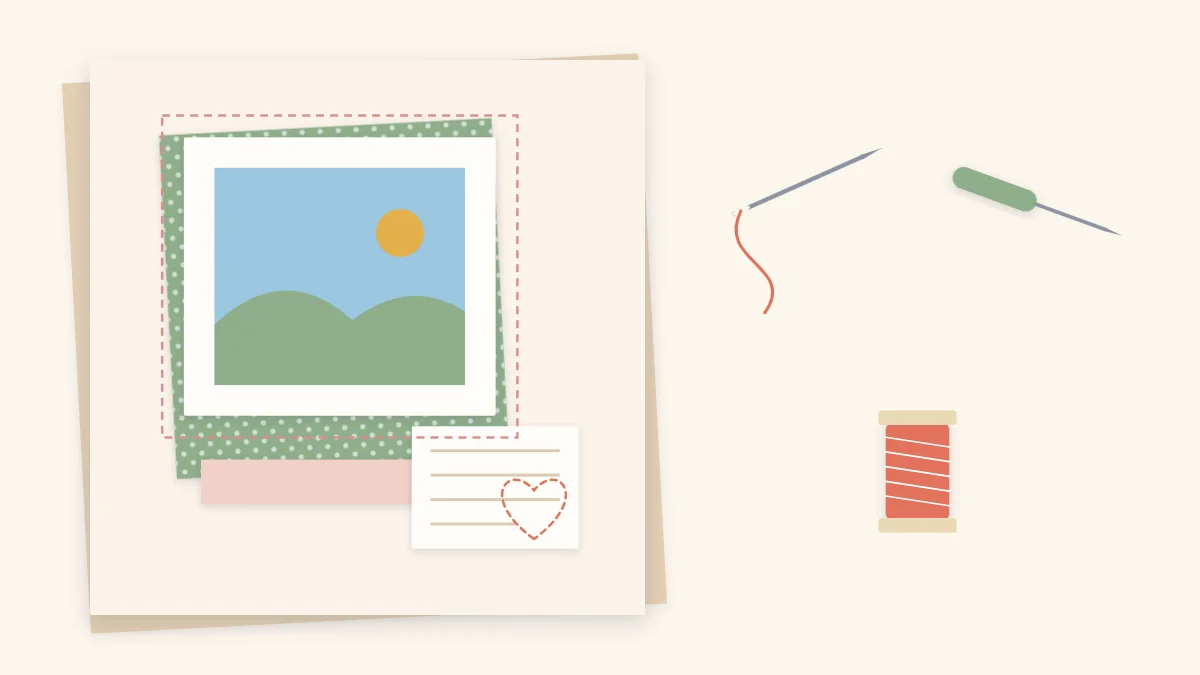
For a curve or a shape such as a heart, draw it on scrap paper, lay that over the cardstock and pierce through both layers. The scrap paper carries the pencil lines away with it. On a curve, space the holes a little closer so the line stays smooth.
Watch out
Needles and piercing tools are sharp. Pierce straight down onto the mat with your other hand well to the side, cap or store the tool point-down when you finish, and supervise children closely or do the piercing for them.
Starting and finishing the thread
Knots are the usual cause of lumps under a stitched piece. Instead of knotting, leave a short tail on the back when you bring the needle up through the first hole and hold it down with a small piece of tape. Finish the same way: take the needle to the back, trim the thread and tape the tail flat.
Cut a length of thread no longer than your forearm. Longer pieces twist, tangle and fray as they pass through the holes again and again. Pull each stitch until it lies flat against the paper and then stop; the thread should rest on the surface, not bite into it.
Where stitching works on a page
- A frame around a mat. A running stitch set about 1/4 inch (6 mm) in from the edge of a photo mat gives a quiet, finished border.
- A stitched border strip. Sew along a strip of cardstock and place it across the page; it joins well with the other handmade border edges.
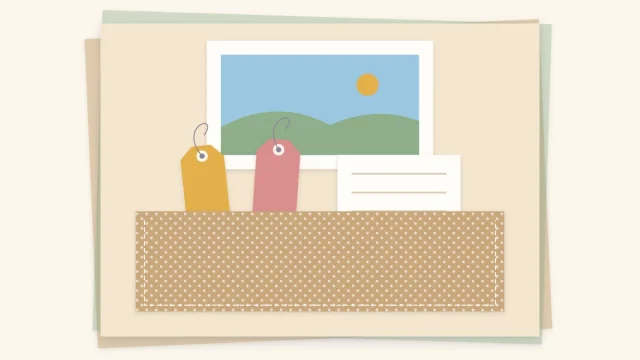
- Working seams. Stitch three sides of a paper rectangle to the background to make one of the flat pockets for tags or a journaling card.
- Embellishment details. Thread through the holes of a button, or a stitch across the center of a paper flower, finishes handmade embellishments neatly.
Stitch each piece before it goes on the page. A mat or strip is easy to turn over in your hands, while a full 12 x 12 in (30.5 x 30.5 cm) sheet is awkward to sew and creases easily. Attach the photo after stitching as well, so no holes or thread tails end up behind the print.
Tip
Choose a thread color that already appears in the layout, such as the mat or an accent paper. Thread in a new color becomes one more thing competing with the focal photo.
Common problems and fixes
- Torn paper between holes. The holes are too close or the thread is too tight. Reinforce the back with a strip of tape and re-pierce slightly farther apart.
- Wavy lines. The holes were pierced by eye. Use the ruler marks every time, even on a short line.
- Puckered paper. The tension is too high. Loosen the last few stitches with the needle tip.
- Bulk on the back. Replace knots with taped tails, and cover the back of a stitched piece with a thin layer of adhesive so it sits flat on the page.
Frequently asked questions
Is it necessary to pierce holes before stitching on paper?
Yes, for hand stitching it makes a clear difference. Piercing first keeps the spacing even and stops the needle from bending or creasing the cardstock as it pushes through. It also lets you check the whole line before any thread goes in.
What thread is best for stitching on cardstock?
Embroidery floss is the most flexible choice because you can separate it and use two or three strands for a fine line. Fine twine or pearl cotton gives a thicker, more rustic stitch. Avoid very thick yarn, which needs holes large enough to weaken the paper.
How far apart should the holes be?
About 1/4 inch (6 mm) is a comfortable spacing for most borders and frames. Tight curves and small shapes need holes a little closer together so the line looks smooth. Going closer than about 1/8 inch (3 mm) risks the paper tearing between holes.