Common Scrapbooking Mistakes and How to Fix Them
Crowded photos, scattered embellishments, uneven gaps and missing journaling are the usual problems on early pages. Here is what each one looks like and how to repair it.
Scrapbooking ideas for every page
Beginner-friendly scrapbooking guides: page layouts, photo arrangements, handmade embellishments, and the techniques behind them, explained in plain language.
A first scrapbook page needs one photo, a sheet of cardstock and a fixed order of work. Here is how to pick a story, choose a page size and build the page in four stages.
Five supplies are enough to finish a scrapbook page. This guide separates the true essentials from the early additions and the extras that are better bought later.
The album decides your page size, how pages are added and which protectors fit. Compare three-ring, post-bound and strap-hinge bindings and the common page sizes before buying paper.
Weight, finish, core and the acid-free label each describe something specific about a sheet of paper. This guide explains the terms and which paper belongs where on a page.
Adhesives, organizing your supplies, and the mistakes worth avoiding.
Crowded photos, scattered embellishments, uneven gaps and missing journaling are the usual problems on early pages. Here is what each one looks like and how to repair it.
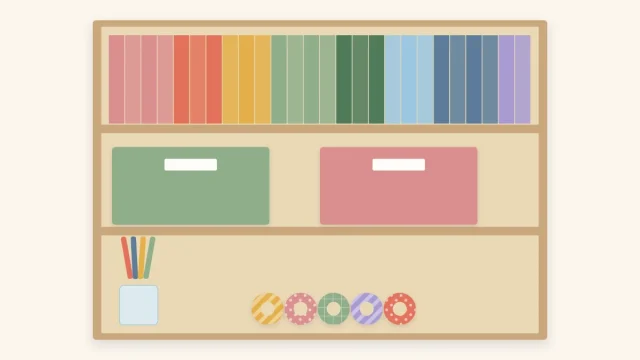
Store paper upright by color, sort embellishments by type in shallow trays and keep everyday tools within reach. A simple system that fits a shelf, a cart or a single tote.
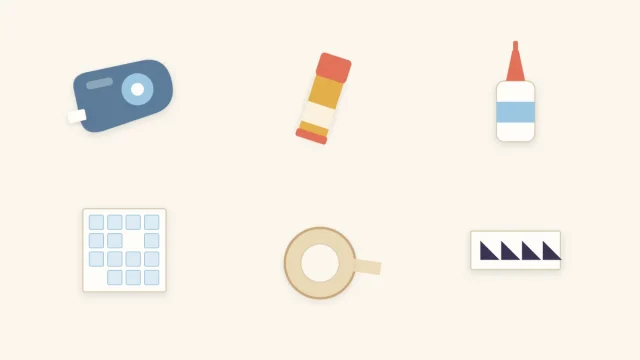
Tape runners, glue sticks, liquid glue, foam squares and photo corners each suit different materials. Match the adhesive to the job to keep pages flat and pieces attached.
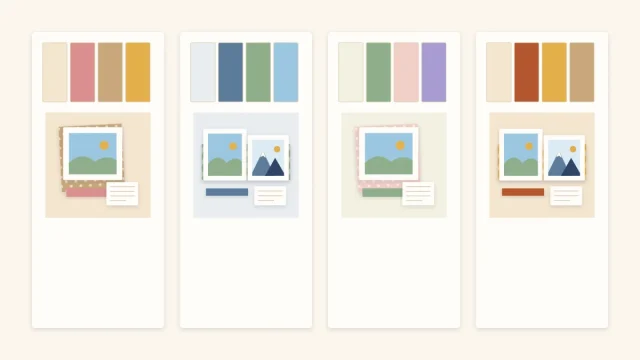
Pick three or four colors from your photos, use the color wheel to find partners and decide how much of each belongs on the page.
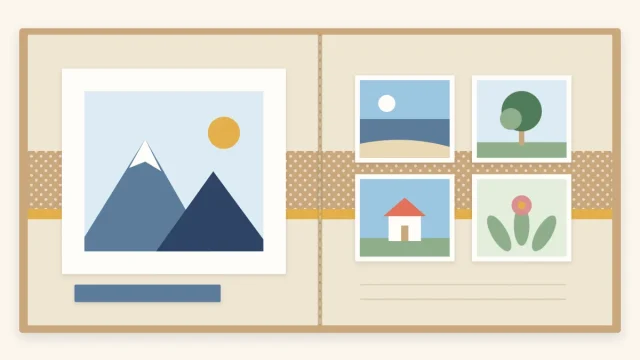
A spread works when two facing pages read as one design. Learn how to divide the photos, link the pages with a shared line and handle the gutter.
A focal point, the rule of thirds, balanced visual weight, a triangle of repeated elements and deliberate empty space: the checks that make a layout easy to read.
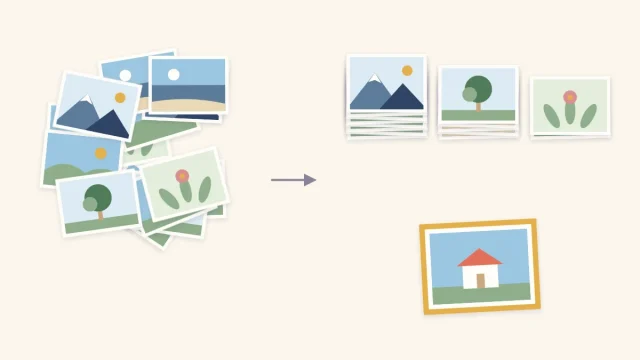
A quick three-pile sort, a mix of wide, medium and close-up shots, and one focal photo turn an unmanageable stack into a page-sized selection.
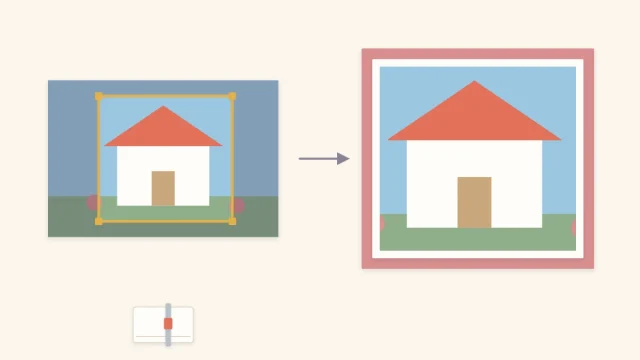
Trim copies of your photos so the subject fills the frame, then add a paper mat with even borders. Includes mat sizes and trimmer steps.
Arrangements that suit one, two, three, four and up to six photos on a single page, with the spacing and cropping each one needs.
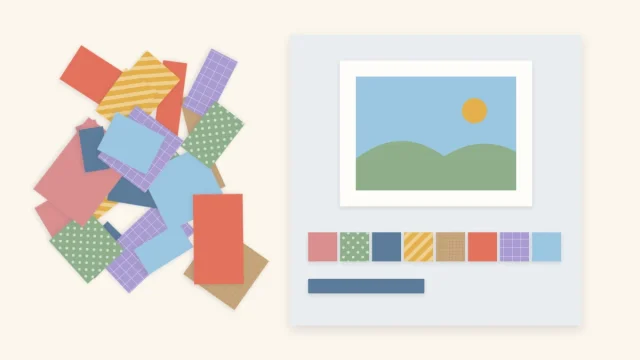
Sort leftover cardstock by size, then turn strips, rectangles and small squares into patchwork, punched circles, banners and mats for your next layout.
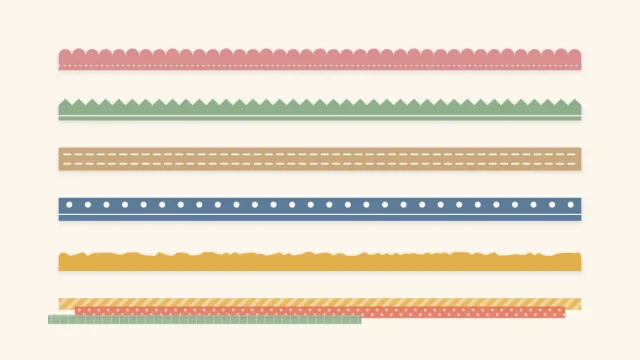
Six page borders made from a strip of cardstock or tape: scalloped, zigzag, stitched, punched, torn and washi. Includes how to space the repeats and where a border belongs.
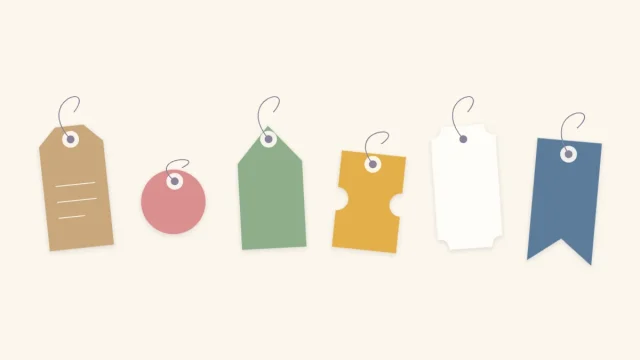
Tags add a layer, a writing spot and a sense of direction to a layout. Learn the common shapes, how to cut a classic tag by hand and where to place it.
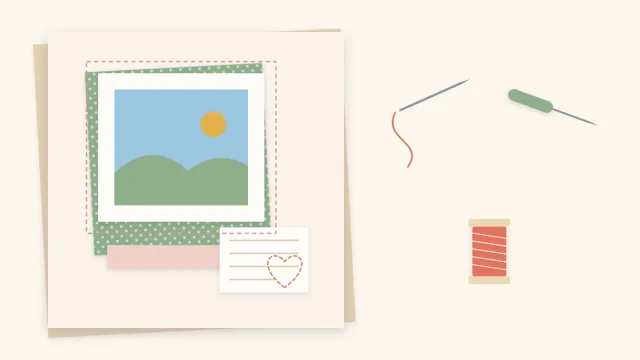
Hand stitching gives a page real texture with just a needle, thread and a piercing tool. Pierce the holes first, keep the stitches simple and finish the back without knots.
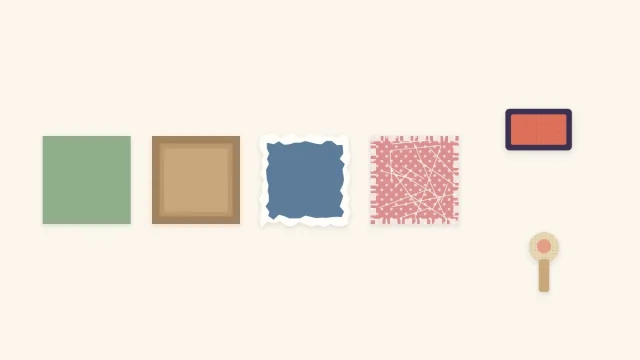
Inking, tearing, sanding and scraping take the hard cut edge off cardstock. Here is how each technique works, which paper it suits and how to keep the effect subtle.
Plan the written part of a layout as carefully as the photos: choose a shape for the journaling area, place it where it reads easily and rule guidelines first.
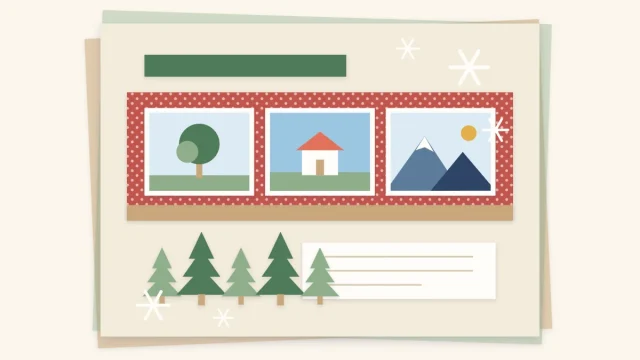
Winter celebrations leave a big stack of busy photos. A firm grid or row, a muted palette and a few hand-cut trees, stars and snowflakes turn them into calm, ordered pages.
A small palette and one hand-cut shape are enough to set the season on a page. Layout ideas for spring, summer, fall and winter, plus ways to keep a full year consistent.
Score and fold long strips of cardstock into a zigzag, join them with a hidden tab, then add stiff covers and a ribbon for a fold-out album that displays every panel at once.
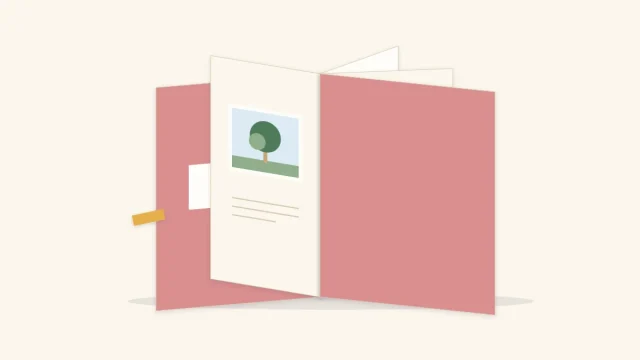
Fold one sheet into eight sections, make a single cut through the center and push it into a booklet with two covers and six inside pages. No binding needed.
Hand stitching gives a page real texture with just a needle, thread and a piercing tool. Pierce the holes first, keep the stitches simple and finish the back without knots.
Inking, tearing, sanding and scraping take the hard cut edge off cardstock. Here is how each technique works, which paper it suits and how to keep the effect subtle.
Start with one photo and a sheet of cardstock, learn the core ideas, and build from there at your own pace. Every tutorial on the site is free to read, no sign-up needed.