Scrapbooking Supplies: What You Need and What Can Wait
Five supplies are enough to finish a scrapbook page. This guide separates the true essentials from the early additions and the extras that are better bought later.
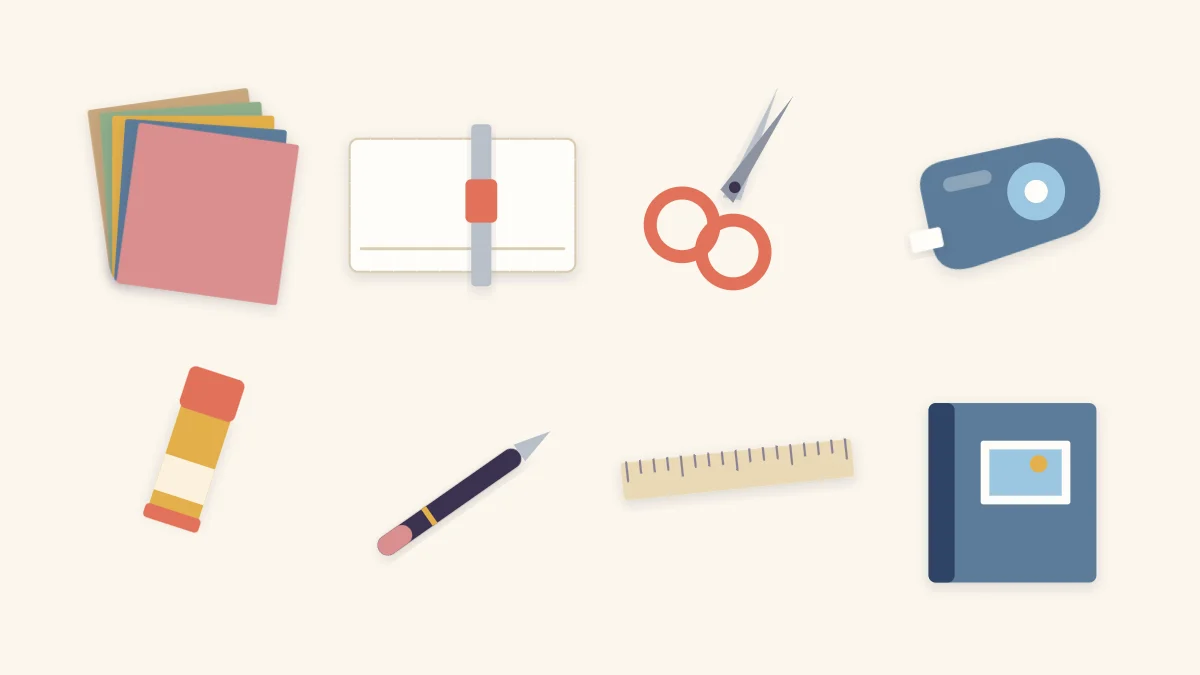
The list of scrapbooking supplies you need to finish a page is short: paper, something to cut it with, something to stick it down, a pen and an album to hold the result. Craft aisles suggest otherwise, with walls of punches, inks and specialty tools, but almost all of those solve problems you have not met yet.
Buying in two rounds works better than buying everything at once. Start with the essentials, make three or four pages, and note what you kept wishing for. That note is a far better shopping list than any starter bundle.
The essentials: what a first page actually uses
Each of these does a job nothing else on the list can do.
- Cardstock. Solid cardstock is the page base and the mats behind photos. It is heavier than text-weight paper, so it stays flat under the weight of photos and glue. A small pack of neutrals plus a few colors goes a long way.
- Scissors. One sharp pair with a comfortable grip handles trimming, tags and curves.
- A tape runner. Dry adhesive on a roll sticks paper and photos without wrinkling them and needs no drying.
- A pen. Journaling needs a pen that does not bleed or smear on your paper. Test it on a scrap and rub the line with a fingertip once dry.
- An album with page protectors. Pages need somewhere to live, and the album fixes your page size, so choose it before buying paper in bulk.
Paper choices are covered in depth in the guide to scrapbook cardstock and paper, including what weight and finish mean when you are standing in front of a shelf.
Useful early additions
These are not strictly required, but most people add them within the first few pages because they remove a recurring annoyance.
- A paper trimmer. Scissors rarely cut a long, straight, square line. A trimmer with a guide arm does it in one pass, which makes mats even and page edges clean.
- A ruler and pencil. For measuring mats, marking light guidelines for writing and checking that photos sit level.
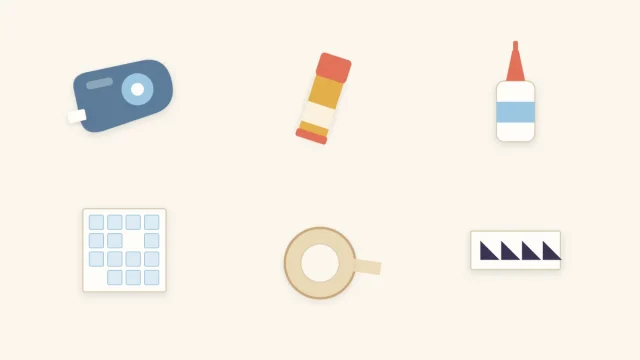
- A glue stick. Handy for small or oddly shaped pieces where a tape runner is too wide.
- Patterned paper. A few sheets that share colors with your cardstock add interest in strips and blocks.
Watch out
Trimmer blades and craft knives are sharp even when they look dull. Cut on a mat, keep fingers behind the blade, and store cutting tools out of reach of children.
What can wait
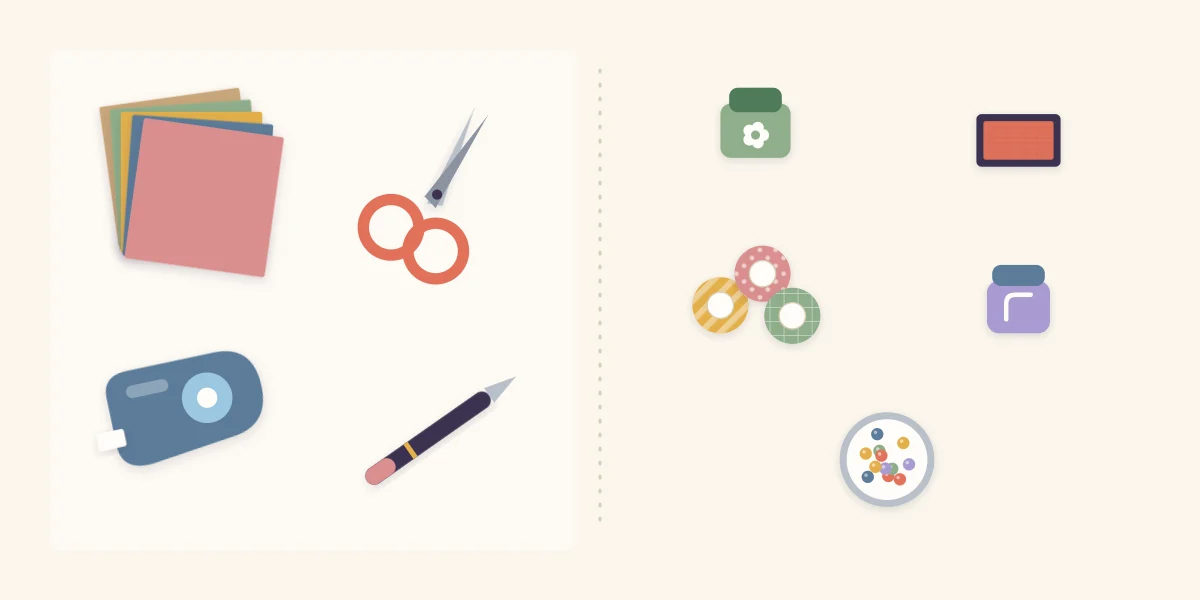
The following supplies are enjoyable and worth owning eventually. None of them is needed to make a good page, and each is easier to choose once you know your own style.
| Supply | What it does | Add it when |
|---|---|---|
| Shaped punch | Cuts identical circles, hearts or other shapes | You keep cutting the same shape by hand |
| Ink pad | Shades paper edges and adds color | Your layers look flat and you want softer edges |
| Washi tape | Adds a removable strip of color or pattern | You want quick borders and accents without cutting paper |
| Corner rounder | Rounds the corners of photos and mats | Square corners feel too sharp for your pages |
| Brads | Small metal fasteners used as accents | You want dimension that paper alone does not give |
A hand-cut circle, a torn edge and a strip of patterned paper can stand in for most of these until you are ready.
How to read the labels
Paper and adhesive packages often carry three terms. Acid-free indicates the product was made without acids that can yellow and weaken paper. Lignin-free indicates the removal of a wood compound that darkens with age. Photo-safe is a manufacturer’s claim that the product is not expected to harm photographs.
Look for these labels on anything that will touch a photo directly, especially adhesive and the mat behind the print. A label is an indication rather than a guarantee, so keep original prints or digital backups of irreplaceable photos and use copies on the page. The differences between tape, liquid glue and foam squares are explained in the guide to scrapbook adhesives.
Spend where it shows
A limited budget goes furthest on the things you touch on every page.
- Worth paying a little more for: a trimmer that cuts square, adhesive that holds, and cardstock sturdy enough to carry a photo without bowing.
- Fine to economize on: rulers, pencils, storage containers and decoration, much of which can be made from paper offcuts.
A dull or flexing trimmer is the usual source of mats that come out slightly crooked. If cuts start to fuzz or tear, replace the blade before blaming your technique. Straight cutting and even mats are covered step by step in the guide on how to crop and mat photos.
Buy for a project, not for a collection
Supplies bought without a page in mind tend to stay in the drawer. Before shopping, lay out the photos for your next few pages and pull two or three colors from them. Buy cardstock in those colors, one or two matching patterned sheets, and nothing else.
This habit also keeps colors consistent. Paper bought for one set of photos naturally coordinates, while paper bought one sheet at a time because it looked nice rarely matches anything you own.
Tip
Carry one trimmed photo copy when shopping for paper. Holding the print against a sheet tells you more about the match than memory does.
Keep what you have visible
Even a small kit gets used more when you can see it. Stand cardstock upright so each color shows, keep the everyday tools together in one container, and give offcuts a folder of their own so they are used before a new sheet is cut. Once the kit grows, the guide on how to organize scrapbook supplies in a small space sets out a simple system.
Frequently asked questions
What are the must-have supplies for a first scrapbook page?
Cardstock, scissors, a tape runner, a pen that does not smear and an album with page protectors. With those five you can cut a mat, mount a photo, write journaling and store the finished page.
Is a paper trimmer necessary, or are scissors enough?
Scissors are enough to start, but they rarely produce a long straight cut. A paper trimmer is usually the first tool worth adding because even mats and square edges make a page look neater with no extra skill.
What do acid-free and lignin-free mean on paper packaging?
Acid-free indicates paper made without acids that can yellow and weaken it, and lignin-free indicates the removal of a wood compound that darkens with age. Look for both labels on paper that will touch photos, and keep backups of irreplaceable prints regardless.