How to Organize Scrapbook Supplies in a Small Space
Store paper upright by color, sort embellishments by type in shallow trays and keep everyday tools within reach. A simple system that fits a shelf, a cart or a single tote.
Tutorial at a glance
Materials
- Vertical paper holders sized for your largest sheets
- Stiff cardboard spacers
- Clear envelopes or folders for scraps
- Shallow divided tray for embellishments
- Jar or caddy for pens, scissors and a ruler
- Two or three bins or boxes
- Plain labels
- Project tray or large folder
Working out how to organize scrapbook supplies in a small space is mostly a matter of two rules: store things upright rather than stacked, and sort them the way you look for them. Paper is chosen by color, tools by task and embellishments by type, so the storage should follow the same logic. When it does, even a single shelf or a rolling cart can hold a full kit.
The aim is not a tidy picture. It is being able to see what you own, reach it without moving three other things, and put it back without thinking.
Sort everything before buying containers
Containers bought first rarely fit what goes in them. Start by putting every supply on one surface and grouping like with like.
- Pull everything out of bags, drawers and boxes so nothing is hidden.
- Make four broad groups: paper, tools, adhesives and embellishments.
- Within each group, set aside anything dried out, damaged or no longer to your taste.
- Measure the shelf, drawer or cart you plan to use, including its height.
- Only then choose containers sized to both the groups and the space.
If you are still building a kit, the list of scrapbooking supplies you need and what can wait helps keep the groups small from the start.
Store paper upright by color
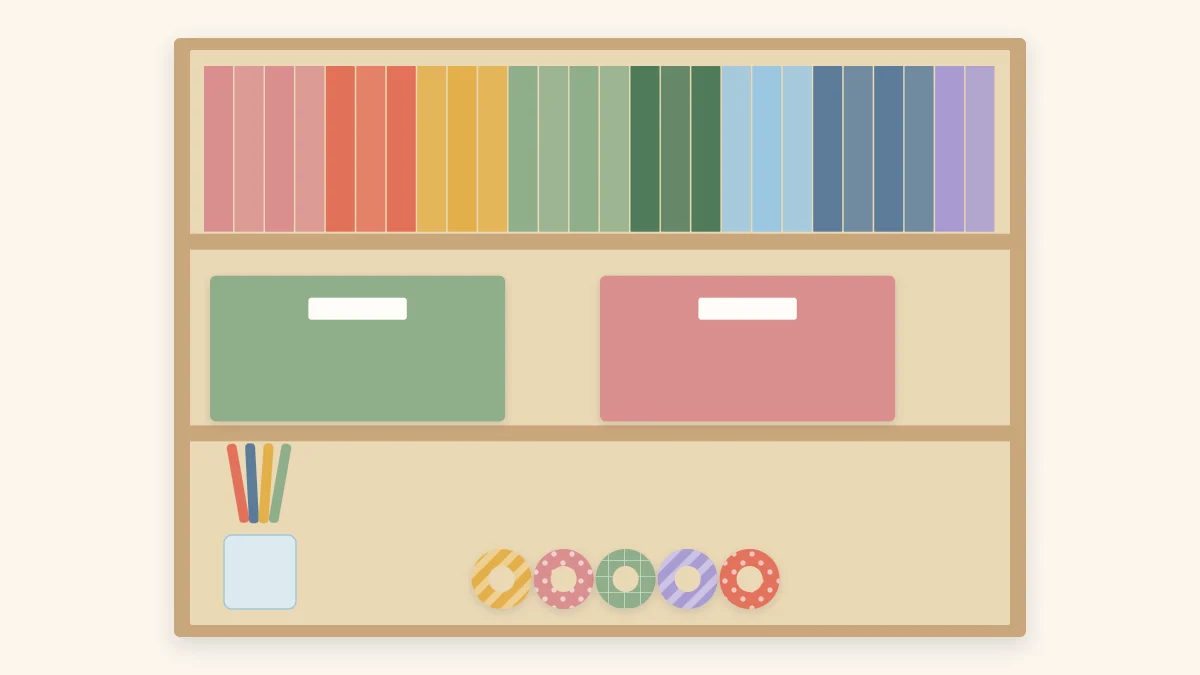
Paper stacked flat hides everything below the top sheet, and pulling one sheet from the middle disturbs the rest. Standing sheets on edge in vertical holders lets you flip through them like files and see every color at once.
Sort solid cardstock into color families and arrange them in rainbow order: reds and pinks, oranges and yellows, greens, blues, purples, then neutrals such as white, cream, kraft, gray and black. This order makes it quick to pull neighboring shades that work together, which is the basis of most scrapbook color palettes.
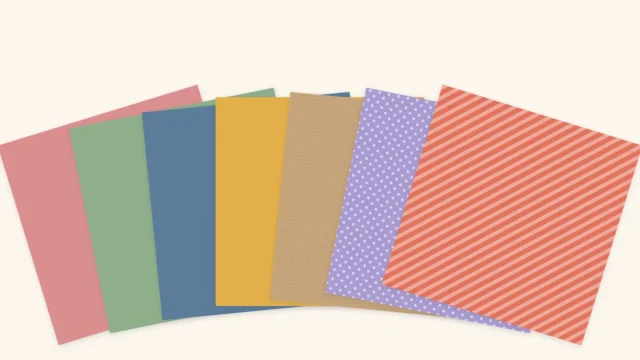
Keep patterned paper in its own holder rather than mixing it with solids. A patterned sheet usually contains several colors and does not belong to a single family. Sort it by theme or by dominant color, whichever matches how you search for it.
Watch out
Paper stored upright will bow if the holder is only half full. Add a stiff piece of cardboard as a spacer so the sheets are supported on both sides, and keep holders out of direct sunlight, which fades the exposed edges.

Give scraps their own system
Offcuts pile up faster than any other supply and are the first thing to become clutter. Decide on a minimum size worth keeping, such as anything large enough to mat a small photo or cut a tag from, and recycle the rest.
File the keepers in clear envelopes or folders, one per color family, and stand them next to the full sheets of the same color. When you need a small mat, check the scrap folder before cutting a new sheet. Ways to use them are collected in these paper scrap ideas.
Sort small embellishments by type
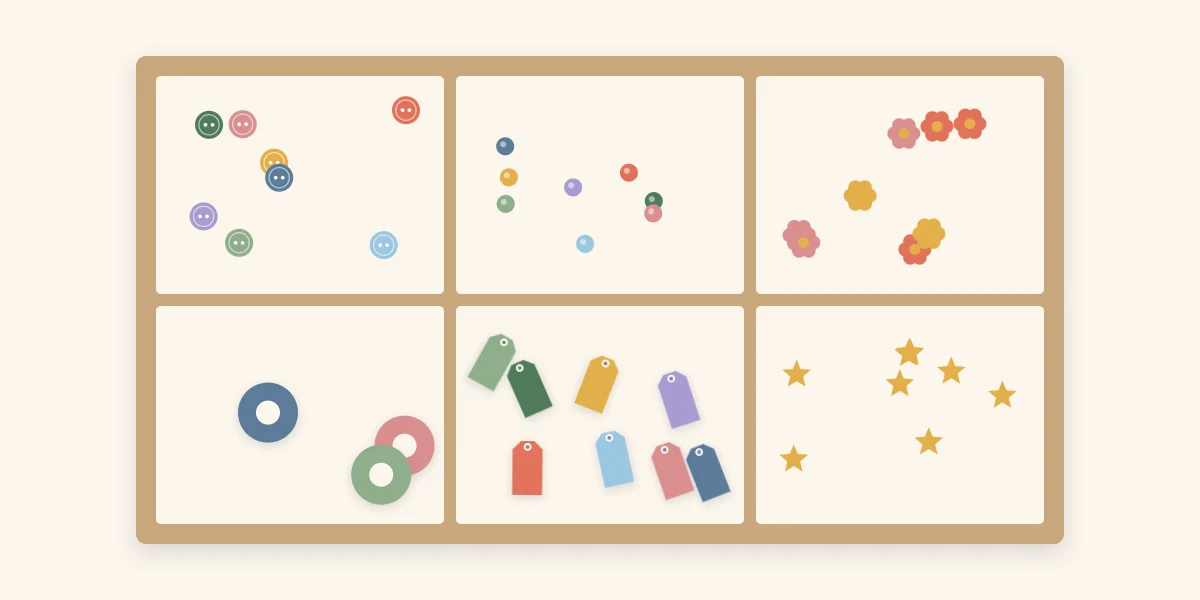
Buttons, brads, paper flowers, ribbon and tags are easy to lose and easy to forget. A shallow tray with compartments, seen from above, keeps each kind separate and visible. Shallow matters more than large: in a deep container, small pieces sink to the bottom and never get used.
- Buttons and brads: one compartment each, or split by color if you have many.
- Paper flowers: a compartment roomy enough that petals are not crushed.
- Ribbon: on spools or wound around small cards so lengths do not tangle.
- Tags: stacked flat in the longest compartment.
Pieces you make yourself, such as the flowers and rosettes in the guide to handmade scrapbook embellishments, belong in the same tray so that they are used alongside bought ones.
Keep tools and adhesives within reach
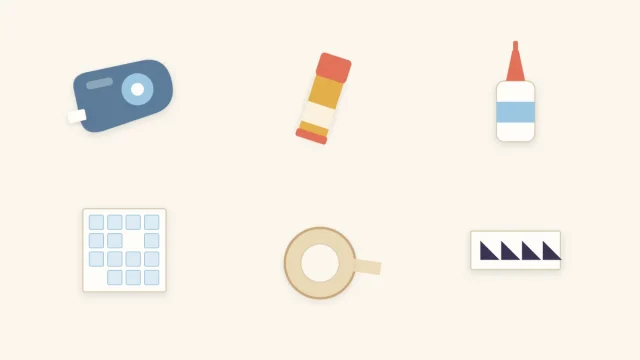
The tools used on every page should take one movement to pick up. Stand pens, pencils, scissors and a ruler upright in a jar or caddy on the work surface. Keep the tape runner and its refills together, and store liquid glue upright with the cap on so the tip does not clog.
A paper trimmer is the bulkiest tool. Slide it upright beside the paper holders or flat on top of a shelf unit, with the blade locked or covered. Store craft knives capped and spare blades in a closed container, out of reach of children.
Washi tape rolls line up neatly on a dowel, in a narrow box or along a shelf edge, where the patterns stay visible.
Storage options for small spaces
| Space available | Storage that fits | What to watch |
|---|---|---|
| One shelf | Vertical paper holders, two bins, a jar for pens | Shelf height must clear a 12 x 12 in (30.5 x 30.5 cm) sheet |
| Rolling cart | Tools on top, embellishments in the middle, paper holders below | Keep heavy paper on the lowest tier so the cart stays stable |
| A drawer | Shallow divided trays, paper stored flat in a folder | Stack no more than a small pile so the bottom sheets stay reachable |
| No fixed space | One lidded tote with a folder for paper and a small divided box | Pack the trimmer flat on the bottom and paper against one wall |
Labels help when containers are not clear. A plain word on the front of each bin is enough.
Set up a project tray
A project tray or large folder holds everything for the page in progress: the photos, the chosen cardstock, the patterned paper and the embellishments pulled for it. When you stop, the whole page lifts off the table in one piece and the surface is free again.
This is the habit that makes a small space workable. Supplies for one page stay together, nothing has to be found twice, and leftovers go back to their places only when the page is finished.
Tip
Put things away by type as soon as a page is done: full sheets to the holders, usable offcuts to the scrap folders, embellishments to the tray. A reset after each page prevents the slow build-up that makes a system fail.
Frequently asked questions
Is it better to store scrapbook paper flat or upright?
Upright storage makes every sheet visible and lets you pull one without disturbing the rest, which suits small spaces. The sheets need support on both sides, so fill the holder or add a stiff cardboard spacer to prevent bowing. Flat storage works for a small pile in a drawer.
How should paper scraps be organized?
Set a minimum size worth keeping, then file the keepers in clear envelopes or folders by color family beside the full sheets of the same color. Checking the scrap folder before cutting a new sheet keeps the pile from growing.
What is the best way to store small embellishments?
Use a shallow tray with compartments and give each kind its own section. Shallow containers keep small pieces visible, while deep ones let them sink to the bottom where they are forgotten.