Accordion Mini Album: A Fold-Out Scrapbook Step by Step
Score and fold long strips of cardstock into a zigzag, join them with a hidden tab, then add stiff covers and a ribbon for a fold-out album that displays every panel at once.

Tutorial at a glance
Materials
- One 12 x 12 in sheet of medium-weight cardstock
- Two pieces of chipboard or stiff cardboard
- Patterned paper for the covers
- Paper trimmer
- Ruler
- Bone folder or scoring tool
- Double-sided tape or liquid glue
- Ribbon or twine
- Small photo copies and paper offcuts
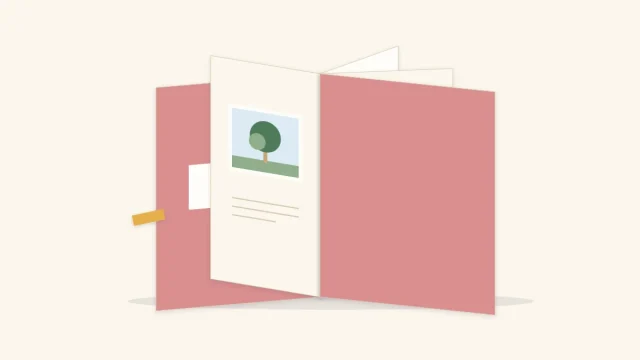
Open an accordion mini album and the whole story is visible at once: a row of small panels zigzagging across a shelf or a desk. It is built from long strips of cardstock, scored and folded back and forth, joined end to end and finished with two stiff covers and a ribbon. There is no binding to buy and no page protector to fit, which makes it one of the most approachable fold-out scrapbooks.
The measurements below produce a six-panel album cut from a single 12 x 12 in (30.5 x 30.5 cm) sheet. Once the method is clear, the same steps work at any size.
Plan the panels
Each strip here gives three panels, 3 in (7.6 cm) wide and 4 in (10.2 cm) tall. Decide how many panels you need before cutting, since the count sets the number of strips.
| Strips | Panels | Suits |
|---|---|---|
| 1 | 3 | A short gift card or a single moment |
| 2 | 6 | One event with four or five photos and a title panel |
| 3 | 9 | A longer sequence, such as a trip told day by day |
A small format forces a tight edit. If the stack of prints is bigger than the panel count, the advice on choosing photos from a big stack helps narrow it down.
What you need
- One 12 x 12 in sheet of medium-weight cardstock for the strips
- Two pieces of chipboard or stiff cardboard for the covers
- Patterned paper to wrap the covers
- A paper trimmer, a ruler, and a bone folder or scoring tool
- Double-sided tape or liquid glue
- Ribbon or twine, about three times the width of a cover
Cut, score and fold the strips
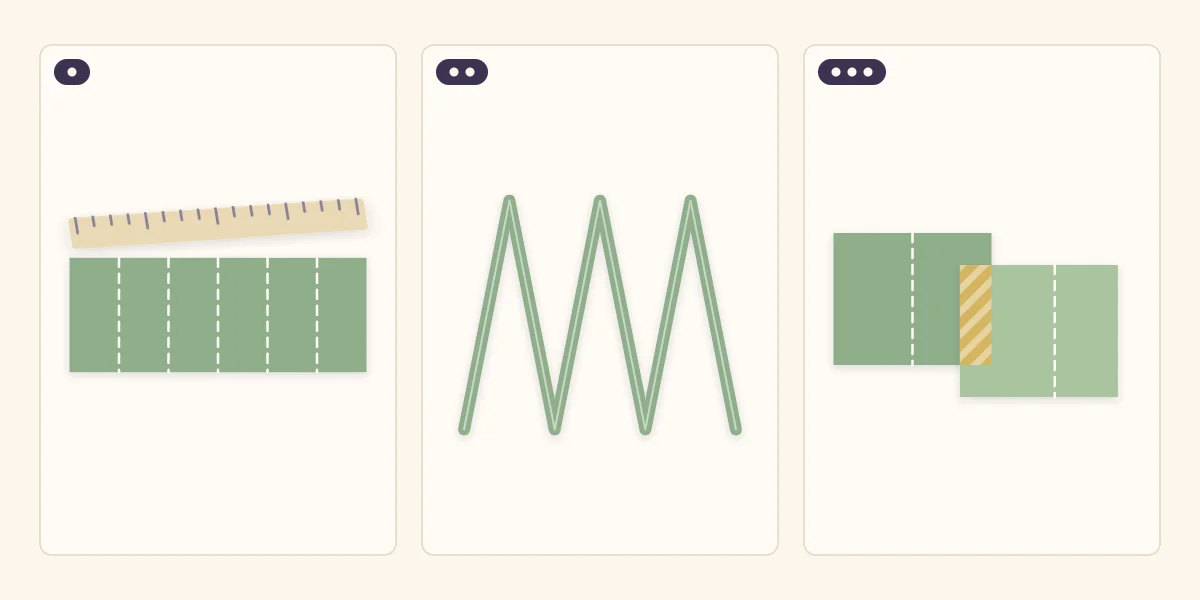
- Cut the strips. Trim two strips 4 in (10.2 cm) tall from the sheet. Cut the first to 9 in (22.9 cm) long and the second to 9 1/2 in (24.1 cm) long. The extra 1/2 in (1.3 cm) becomes the joining tab.
- Score the first strip. Mark 3 in and 6 in from one end. Lay the ruler across the strip at each mark and draw the bone folder along it, pressing a groove into the cardstock.
- Score the second strip. Score a line 1/2 in from one end for the tab, then at 3 in and 6 in beyond that line.
- Fold the zigzag. Fold the first score toward you and the second away from you, so the folds alternate. Seen from the side, the strip makes a Z. Sharpen each crease with the bone folder.
Scoring matters because cardstock folded without a groove bends where it likes and the surface can crack. A scored line gives a straight fold and keeps the panels the same width, so the album closes into a square stack instead of a slanted one.
Watch out
Trimmer blades and craft knives are sharp. Keep fingers behind the blade, cut on a mat if you use a knife, and handle the cutting yourself when children are helping.
Join the strips with a tab
The tab lets two strips behave as one. Fold the tab on the second strip along its score line. Apply double-sided tape or a thin line of liquid glue to the tab, then press it onto the back of the last panel of the first strip, with the tab’s fold sitting exactly on that panel’s outer edge. The overlap is hidden behind the panel and the join becomes one more fold in the zigzag.
Check the direction before the adhesive sets: the fold at the join should continue the back-and-forth pattern. If two neighboring folds point the same way, the album will not close flat. A weak adhesive lets go at this stress point, so use something with a firm hold; the guide to scrapbook adhesives compares the options. For a third strip, cut it with a tab and repeat.
Decorate the panels
Lay the strip flat and decorate it before adding covers. A photo trimmed to about 2 1/2 x 3 1/2 in (6.4 x 8.9 cm) leaves a 1/4-inch (6 mm) border on a panel. Use copies of irreplaceable prints, since everything is cut small.
- Alternate photo panels with quieter ones: a paper strip, a title, a few lines of journaling.
- Keep elements away from the folds. Anything glued across a crease buckles when the album closes.
- Stay flat. Thick embellishments on facing panels press into each other and hold the album open.
Small handmade tags fit this scale well and give you a place for dates and names without crowding a photo.
Tip
Stand the folded strip on the table before gluing anything down. Seeing the panels at an angle shows which ones face forward and which face back, so the focal photo lands on a panel that is easy to see.
Add covers and a ribbon
- Cut two covers from chipboard, each 3 1/4 x 4 1/4 in (8.3 x 10.8 cm), slightly larger than a panel so the edges of the pages are protected.
- Wrap each cover in patterned paper: cut the paper larger than the board all around, glue the board to the center, trim the corners of the paper diagonally and fold the flaps over the edges.
- Lay the ribbon across the middle of the inside of the back cover, with equal lengths hanging off each side, and tape it in place.
- Glue the back of the last panel onto the inside of the back cover, over the ribbon, with an even margin all around.
- Glue the back of the first panel to the inside of the front cover in the same way.
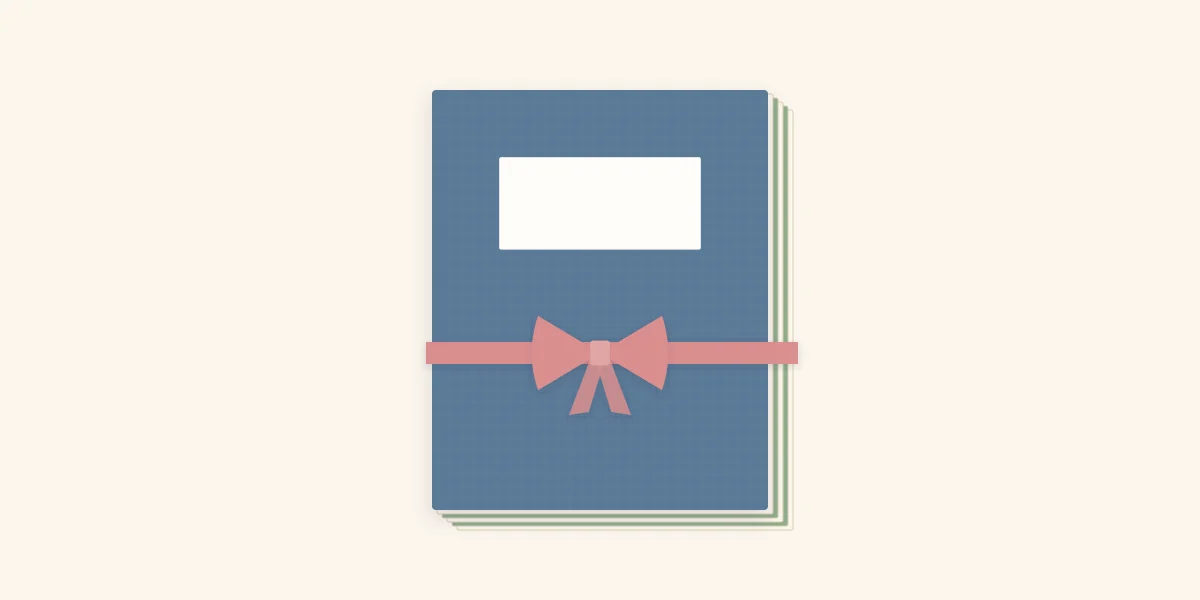
- Close the album, bring the ribbon ends around to the front and tie a bow.
Press the closed album under a heavy book while the glue dries so the covers do not warp.
Variations
Change the strip height and the score spacing and the same method gives a different album. Strips 6 in (15.2 cm) tall scored every 4 in (10.2 cm) make panels large enough for one standard print trimmed slightly.
If cutting and joining strips is more than the project needs, a one-sheet mini scrapbook album folds into an eight-page booklet with a single cut and no adhesive at all.
Frequently asked questions
How do I make an accordion album longer?
Cut another strip with a narrow tab at one end, score and fold it the same way, and glue the tab behind the last panel of the existing strip. Make sure the fold at the join continues the back-and-forth pattern. You can keep adding strips, though a very long album becomes thick and harder to tie shut.
Why does my accordion album not close evenly?
Uneven panels are the usual cause. If the score lines are not the same distance apart, the edges stagger when the strip is folded. Measure from the same end each time, score before folding, and check that the tab's fold sits exactly on the edge of the panel it joins.
Do I need covers on an accordion mini album?
The album works without them, but stiff covers protect the corners of the panels and give the ribbon something firm to hold. Cut them slightly larger than a panel so the page edges sit inside the cover.