Scrapbook Pockets: How to Make Flat Pockets and Hidden Journaling
Pockets and flaps add storage and privacy to a layout. See the four common pocket types, make a three-sided flat pocket and hinge a photo over hidden journaling.
Tutorial at a glance
Materials
- cardstock
- sturdy patterned paper or vellum
- paper trimmer or scissors
- ruler and pencil
- scoring tool or empty ballpoint pen
- double-sided tape or tape runner
- pen for journaling
A page sometimes has more to hold than its surface allows: a longer piece of journaling, a few extra tags, a ticket stub or a folded note. Scrapbook pockets solve that by adding storage to the layout itself. A pocket is a piece of paper glued along three edges and left open on the fourth, so flat items can slide in and out.
Pockets also give you privacy and tidiness. Words you would prefer not to display, or text that would crowd the design, can sit inside a pocket or under a lifting flap and still stay with the photos they belong to.
Four types of pockets
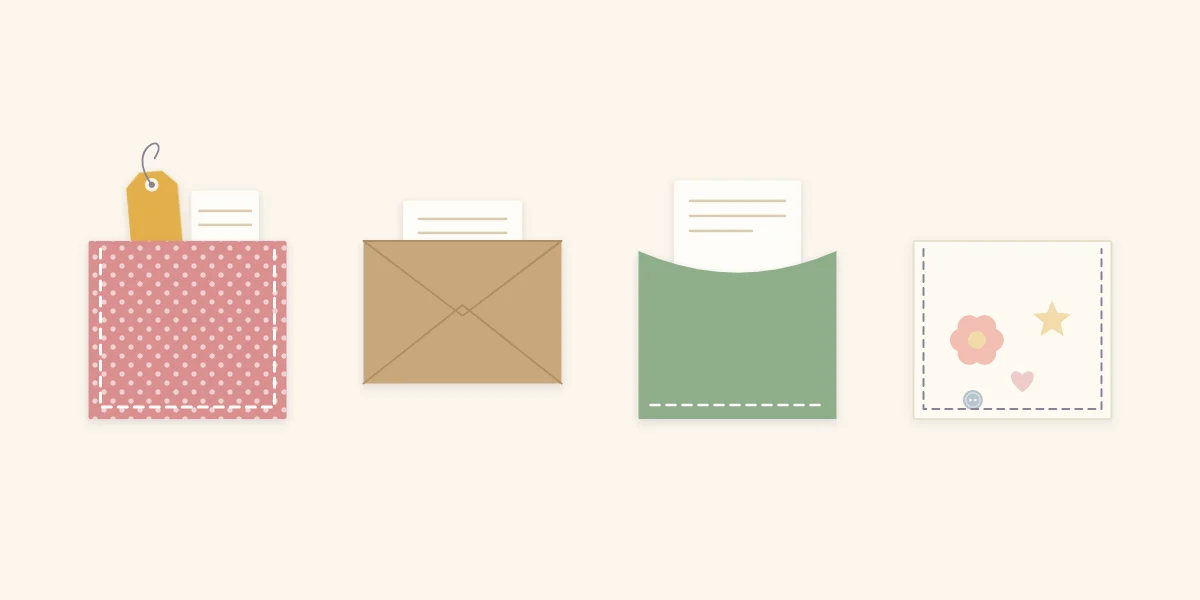
Most pockets on scrapbook pages are one of four kinds. They differ in how they open and how much of the contents you can see.
| How it is made | Holds | Contents visible? | |
|---|---|---|---|
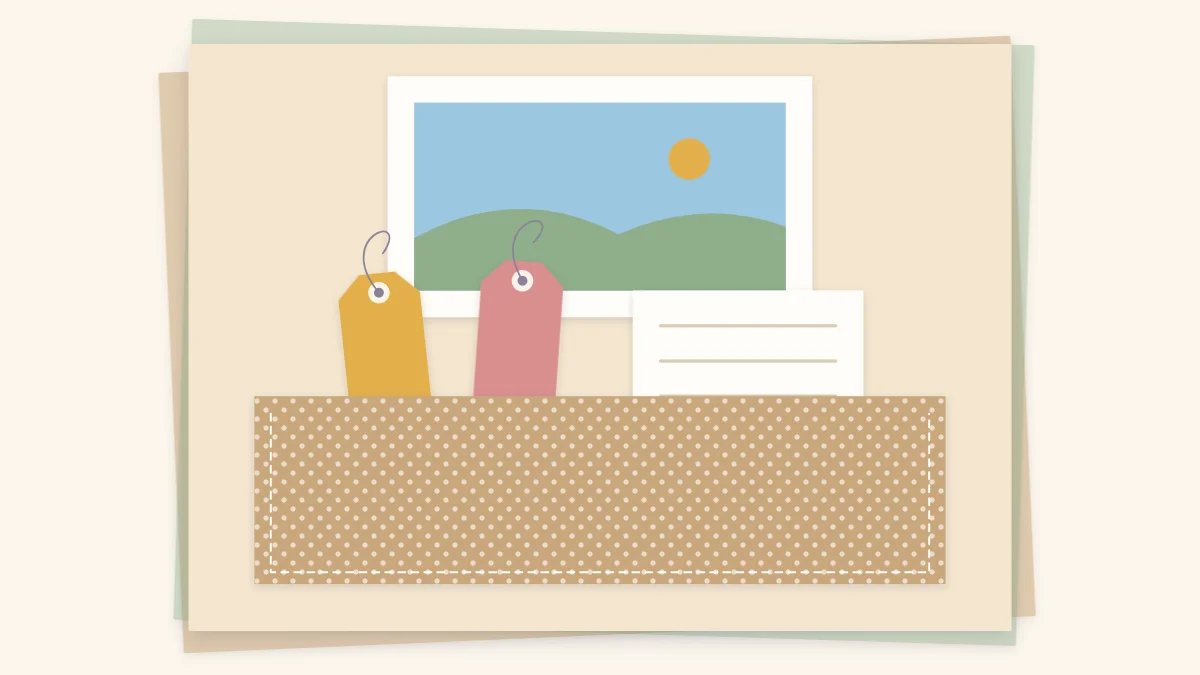
| Flat pocket | A rectangle glued on three sides, open at the top | Tags, journaling cards, flat memorabilia | Only what sticks out |
| Envelope | A small folded envelope with a flap | Notes and small loose pieces | No |
| Library pocket | A folded pocket with a low curved front | One card that pulls up | Top part of the card |
| Vellum pocket | Translucent vellum glued on three sides | Punched shapes, confetti, flat keepsakes | Yes, softly |
The flat pocket is the most useful of the four and the one to learn first. A vellum pocket turns its contents into decoration, since the shapes inside show through as soft silhouettes.
How to make a flat pocket
A flat pocket can be any size, from a small one beside a photo to a wide band across the lower half of the page.
- Cut a rectangle of cardstock or sturdy patterned paper to the size you want the pocket front to be. Thin paper tears at the opening, so back it with cardstock if needed.
- Decide which edge is the opening. The top is usual; a side opening suits a pocket near the outer edge of the page.
- Apply a narrow line of strong adhesive along the other three edges only, right up to the corners. Double-sided tape or a tape runner works well because it stays flat and does not squeeze inward.
- Press the pocket onto the page and rub firmly along the three glued edges.
- Slide a card in to test the fit before adding any decoration.
The adhesive line needs to be narrow. A wide band of glue shrinks the usable space, and the inserts end up too small. Gaps at the corners matter just as much: small items escape through them, and the corner is where a pocket starts to peel. Adhesive choices are compared in the guide to scrapbook glues and tapes.
Tip
Cut a shallow half-circle notch in the center of the opening edge with a circle punch or scissors. It gives a fingertip room to grip the insert, so nobody has to pry at the pocket to get a card out.
What to put in a pocket
Keep the contents flat and light. A pocket bulging with thick items presses into the facing page and can pull away from its own adhesive.
- Tags: two or three of different heights, so each top shows above the pocket edge. See how to cut them in the guide to scrapbook tags.
- Journaling cards: a card slightly narrower than the pocket, written on one or both sides.
- Flat memorabilia: paper tickets, maps folded once, programs. These suit trip pages especially; more ideas are in the article on travel layouts.
- Extra photos: prints that did not fit the design but belong to the same event. Use copies if the prints are irreplaceable, since they will be handled each time they are pulled out.
Make inserts taller than the pocket by about 1/2 in (1.3 cm) or more so they are easy to see and grip. If an insert sits fully inside, add a small paper tab or a loop of ribbon at its top edge.
Hidden journaling under a photo flap
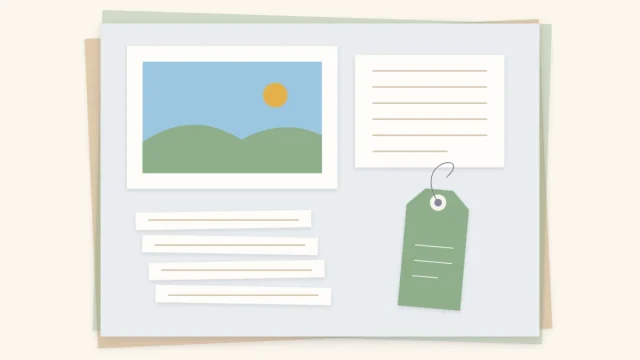
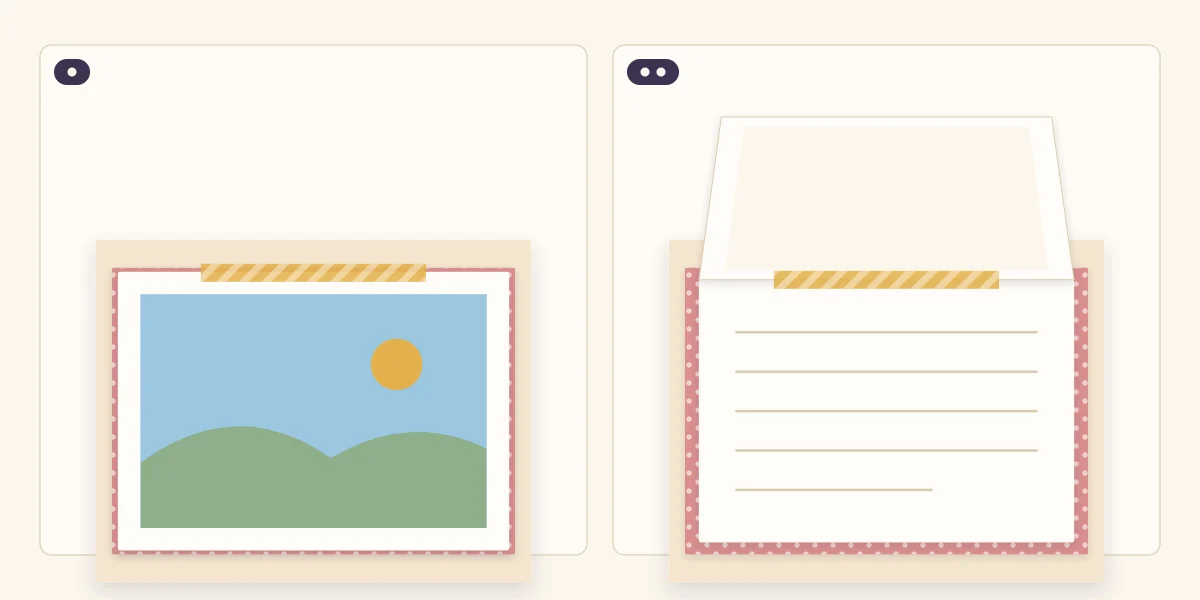
A flap is the simplest way to hide text without building a pocket at all. The matted photo is attached along its top edge only, so it lies closed like any other photo and lifts to show a journaling block underneath.
- Cut a journaling block slightly smaller than the matted photo, so nothing shows around the edges when the flap is closed.
- Rule light lines, write the journaling, and glue the block to the page where the photo will sit.
- Score a line across the back of the photo mat about 1/4 in (6 mm) below its top edge and fold along it. The narrow strip above the score is the hinge.
- Apply adhesive to the hinge strip only and press it to the page so the photo covers the journaling.
- Lift and lower the flap a few times to check that it opens cleanly and lies flat when closed.
The hinge goes at the top for a practical reason: gravity keeps the flap shut when the album stands on a shelf. The mat does the work of the flap, so use cardstock for it.
For more ways to shape and position the written part of a page, see the guide to journaling placement.
Pockets and page protectors
Anything that pulls out or lifts up has to work with the page protector. With a top-loading protector, a pocket near the top of the page is easy to reach without removing the layout, while a pocket at the bottom means sliding the whole page out. Decide which matters more: quick access or keeping the page sealed.
Watch out
Inserts that stand far above the pocket can catch on the protector opening and bend. Keep the tallest insert well inside the page edge, and round its top corners.
Problems and fixes
- Pocket peels at a corner: the adhesive stopped short. Lift the corner slightly, add double-sided tape and press again.
- Inserts fall out: the pocket is too shallow. Make it at least two thirds as tall as the insert.
- Flap springs open: the fold was not scored. Crease the hinge firmly, or tuck the lower corner under a small paper strip.
Frequently asked questions
What adhesive works best for a scrapbook pocket?
A narrow, flat, strong adhesive such as double-sided tape or a tape runner is the usual choice. It stays where it is placed, so the inside of the pocket remains clear. Run it right into the corners, since that is where pockets begin to lift.
How do you hide journaling on a scrapbook page?
Write on a card and slip it into a pocket, or glue the journaling to the page and cover it with a matted photo hinged along its top edge. The flap lifts to reveal the text and lies flat when closed.
Can a pocket hold thick items?
Flat pockets are meant for flat paper items such as tags, cards and tickets. Thick objects strain the adhesive and press into the facing page. Keep bulky keepsakes elsewhere and represent them on the page with a picture or a note.