Paper Scrap Ideas: Using Leftover Cardstock on Scrapbook Pages
Sort leftover cardstock by size, then turn strips, rectangles and small squares into patchwork, punched circles, banners and mats for your next layout.
Tutorial at a glance
Materials
- paper scraps
- paper trimmer or scissors
- circle punch or hole punch
- pencil and ruler
- twine
- glue stick or tape runner
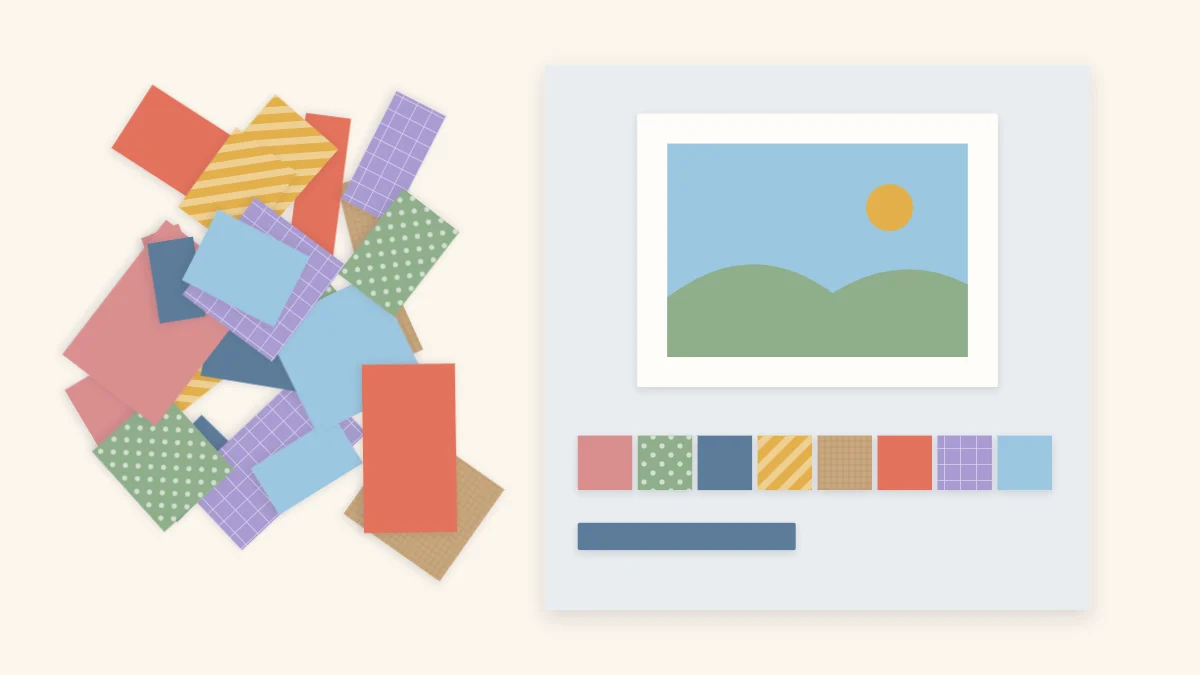
Every page you finish leaves offcuts behind: a strip from trimming a mat, a corner of patterned paper, half a sheet of cardstock with a rectangle missing. These paper scrap ideas turn that pile into borders, accents and mats for later pages, so less paper is wasted and your layouts pick up colors that already go together.
Scraps only get used if you can find the right one quickly. A bag of mixed offcuts is slow to dig through, and most people stop looking and cut into a new sheet. Sorting comes first, projects second.
Decide what is worth keeping
Not every sliver deserves storage space. A workable rule is to keep any piece large enough to yield a 1 in (2.5 cm) square or a strip at least 1/4 in (6 mm) wide and a few inches long. Anything smaller goes in the recycling, unless you want it for punched confetti.
Check condition too. Discard pieces with creases, adhesive residue or dented corners, because flaws that are hidden in a pile become obvious on a finished layout. If acid-free and lignin-free labels matter to you, keep scraps from labeled sheets apart from unlabeled paper such as packaging or gift wrap, since once the package is gone there is no way to tell them apart.
Sort scraps by size first
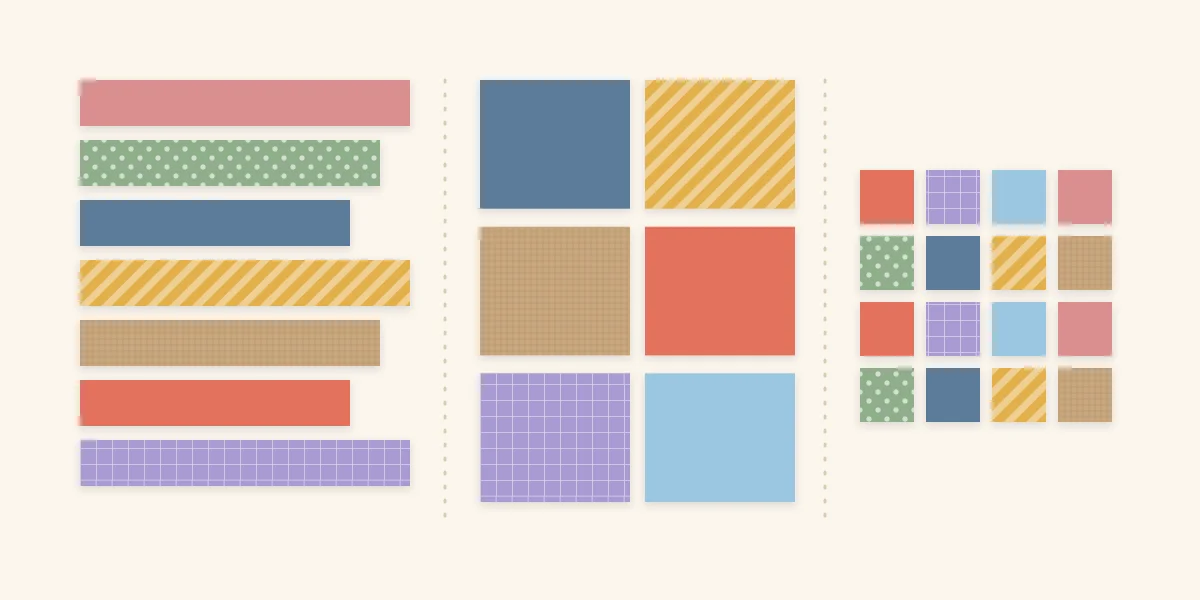
Size is a more useful first sort than color, because the project you have in mind usually dictates a shape. Three groups cover almost everything:
- Long strips: narrow pieces the length or most of the length of a sheet. These become borders, layered bands and banner strips.
- Medium rectangles: pieces roughly the size of your hand. These become photo mats, tags and journaling blocks.
- Small squares: anything a couple of inches across or less. These become patchwork, punched shapes and cluster layers.
Square off ragged pieces as you sort. A quick pass through the paper trimmer turns an awkward L-shaped offcut into one clean rectangle and one clean strip, and clean shapes are far more likely to be used. Keep fingers behind the blade while trimming small pieces.
Within each size group, a loose color sort is enough: warm, cool and neutral, with patterned paper kept separately. Three flat envelopes or shallow trays hold the lot. For more on containers and small spaces, see the guide to organizing scrapbook supplies.
Match the scrap to the job
| Scrap size | Best uses | Tools |
|---|---|---|
| Long strips | Borders, layered strip stacks, title strips | Paper trimmer, tape runner |
| Medium rectangles | Photo mats, tags, journaling blocks, pockets | Trimmer, scissors, hole punch |
| Small squares | Patchwork strips, punched circles, pennants | Scissors, circle punch |
| Tiny offcuts | Confetti, flower centers | Hole punch |
Four quick scrap projects
Each of these uses one size group and finishes as a single piece you can place on a page.
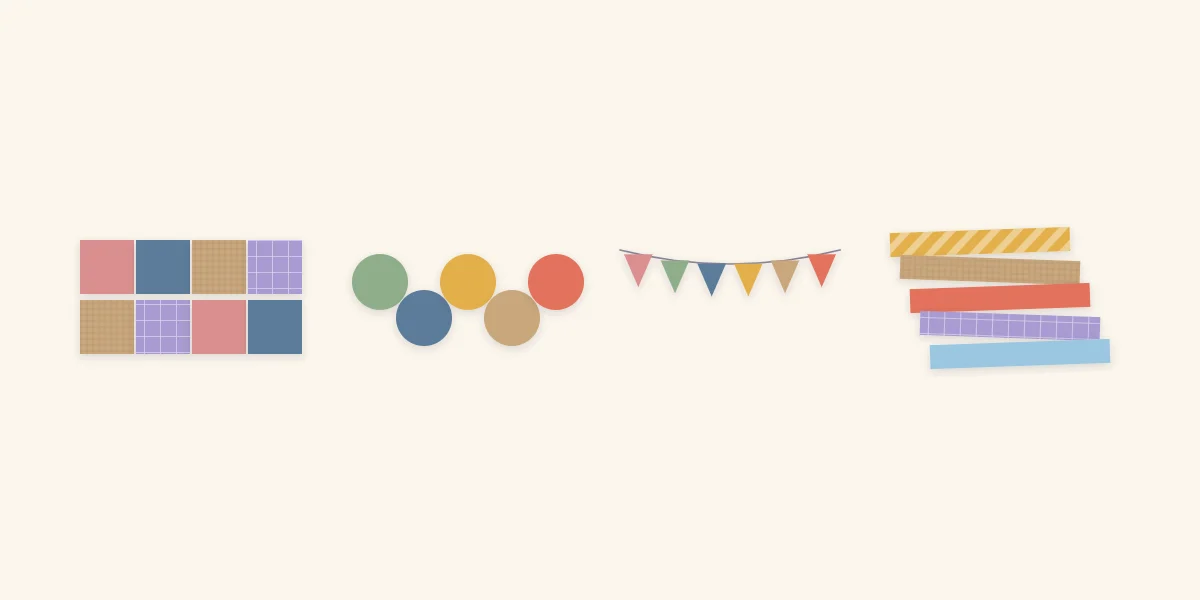
Patchwork strip
- Cut small scraps into equal squares; 1 in (2.5 cm) is easy to handle.
- Cut a backing strip of plain cardstock the same height as the squares.
- Glue the squares along it edge to edge, alternating solids and patterns.
- Trim the ends flush.
Placed under a photo, the strip works like a border. It looks deliberate when the squares are identical in size and limited to three or four colors.
Row of punched circles
Punch circles from small scraps with a circle punch, or trace a coin and cut by hand. Line them up along a ruled pencil line with equal gaps, or overlap each one slightly over the last. An odd number in a row tends to look more settled than an even one.
Pennant banner
Cut small rectangles in half diagonally, or cut triangles of equal width from a strip by zigzagging across it. Glue the triangles point down along a length of twine or a very thin paper strip, with the top edges touching. A gentle curve reads as a hanging banner; a straight row reads as a border.
Layered strip stack
Take four or five thin strips of different lengths and stack them horizontally, staggering the ends so each one shows. This fills the space beside a title or under a journaling block and uses the narrowest offcuts you have. The same strips can be shaped into handmade borders if they are long enough.
Tip
Make scrap pieces straight after finishing a page, while its offcuts are still on the table. The colors already match each other, and the finished strip or banner is ready for the next page from the same set of photos.
Larger pieces: mats, tags and layers
Medium rectangles are the most valuable scraps. One that is slightly bigger than a 4 x 6 in (10 x 15 cm) print makes a mat with no further cutting from a full sheet. Smaller ones become tags, journaling blocks or the hidden lower layers of a cluster, where only an edge will show and an irregular shape does not matter.
Scraps are also good practice material. Try a new fold, an inked edge or a paper flower on leftovers before cutting a good sheet; several simple shapes are described in the guide to handmade embellishments.
Keep scrap pages from looking busy
The risk with scraps is too much variety. A page made from fifteen unrelated papers looks like the pile it came from.
- Limit each scrap piece to three or four colors, and repeat at least one color from the photos.
- Mix one or two patterns with solids. Small-scale patterns hold up best when cut into tiny pieces.
- Give scrap pieces a plain background. A patchwork strip on patterned paper disappears.
- Use one scrap feature per page. A patchwork strip plus a pennant banner plus punched circles is three focal points.
Watch out
Set a limit on the scrap pile, such as one tray per size group. When a tray is full, use or recycle before adding more, or the pile becomes too big to search.
Frequently asked questions
How small a paper scrap is worth keeping?
Keep pieces that can still yield a 1 in (2.5 cm) square or a narrow strip a few inches long. Smaller bits are only useful for punched confetti or flower centers, so save a small handful at most and recycle the rest.
Should scraps be sorted by color or by size?
Sort by size first, because the project you have in mind usually needs a particular shape: a strip, a rectangle or a small square. Within each size group, a loose split into warm, cool and neutral colors, with patterned paper kept apart, is enough to find things quickly.
How do you stop a page made from scraps looking cluttered?
Limit each scrap piece to three or four colors and repeat a color from the photos. Cut the pieces to identical sizes, set them on a plain background and use only one scrap feature, such as a patchwork strip, on the page.