Paper Distressing and Inking: Soft Edges for Scrapbook Pages
Inking, tearing, sanding and scraping take the hard cut edge off cardstock. Here is how each technique works, which paper it suits and how to keep the effect subtle.
Tutorial at a glance
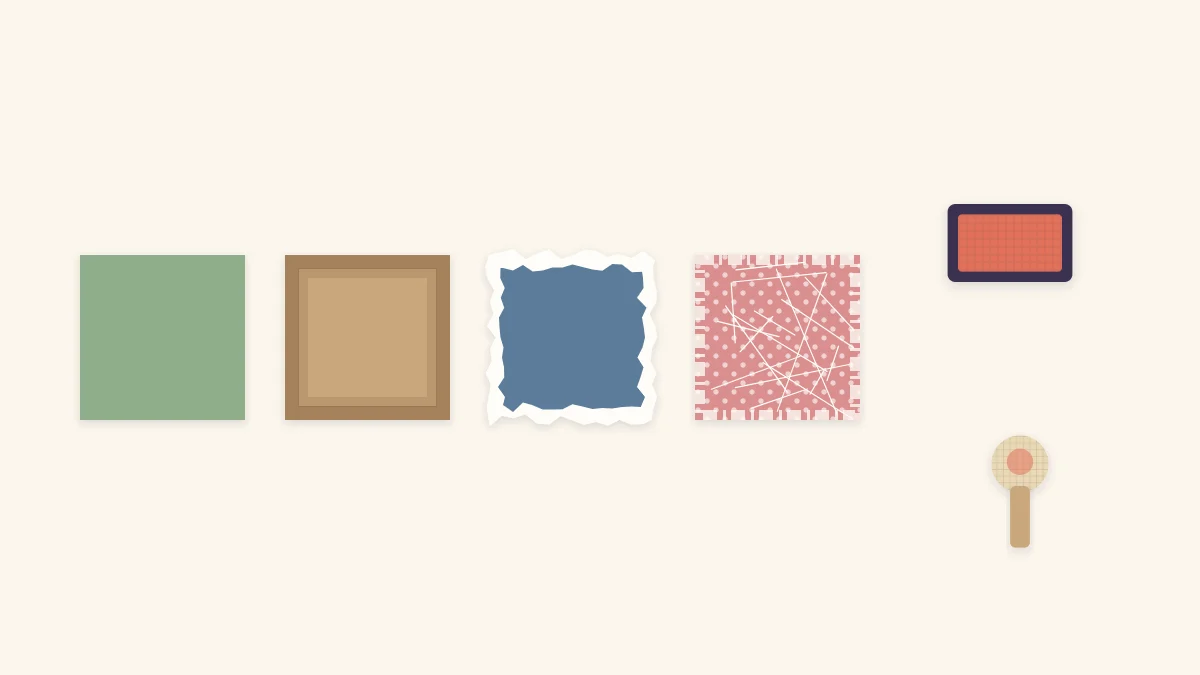
Materials
- Dye ink pad in a shade darker than your paper
- Sponge dauber or small piece of makeup sponge
- Fine-grit sanding block or nail file
- Scissors
- Ruler
- Small paintbrush and water
- Scrap paper to protect the table
Paper distressing techniques take the hard, machine-cut look off a piece of cardstock. A freshly trimmed mat has a crisp edge and a flat, even color, which suits clean modern pages but can look stiff beside soft photos, kraft paper or handwritten journaling. Roughening, tearing, sanding or inking that edge makes the piece look handled and settled into the page.
None of this needs special equipment. An ink pad, a scrap of sponge, a sanding block and the blade of a pair of scissors cover almost every effect described here. What matters more is restraint: distressing works because it contrasts with the clean parts of the layout, so it is best kept to a few pieces rather than applied to every edge.
What distressing does for a page
A darker or rougher edge draws a faint outline around a shape. That outline separates the piece from the paper beneath it, which is useful when two layers are close in color and would otherwise blur together.
Distressing changes the mood as well. Clean edges read as tidy and contemporary; worn edges read as relaxed, rustic or nostalgic. Decide which mood the photos call for before you start, because a worn edge cannot be made crisp again.
Check your paper first
Cardstock comes in two constructions, and they behave very differently. Solid-core cardstock is dyed all the way through, so a torn or sanded edge stays the same color. White-core cardstock has a colored surface over a white middle, so tearing or sanding exposes a pale line. Patterned paper is usually printed on a white base and behaves like white-core stock.
Tear a corner from an offcut to find out which kind you have. If the idea of a core is new, the guide to cardstock weights and finishes explains how these sheets are made and what the labels on the package are meant to tell you.
Inking the edges
Inking is the gentlest technique and the easiest to control. Dye ink soaks into the paper and dries quickly, which suits edges. Pigment ink sits on the surface and stays wet longer, so it smears more easily on a mat that will be handled.
- Protect the table with scrap paper and hold the piece flat on it, edge toward you.
- Tap a sponge dauber or a small piece of makeup sponge on the ink pad, then tap it once on the scrap paper to remove the excess.
- Start the stroke on the scrap paper and sweep onto the edge of the piece in small circles, so the heaviest color lands off the paper.
- Build the shade in light passes. Stop when the edge is slightly darker than the center.
- For a thin, sharp line instead of a soft shadow, drag the edge of the paper straight across the ink pad.
Choose an ink a few shades darker than the paper, or a soft brown or gray for a neutral shadow. Black on pale paper usually looks like a scorch mark rather than a shadow.
Watch out
Ink the mat before you attach the photo, and let it dry fully. Wet ink transfers to fingers and then to the print, and a smudge on a photo surface rarely wipes off cleanly. Use a copy rather than a one-of-a-kind original near ink.
Tearing paper with control
A torn edge looks random, but the direction of the tear decides what shows. Hold the sheet flat with one hand and pull the part you are removing with the other. Pull that part toward you and the top surface tears away at an angle, leaving a ragged band of white core along the piece you keep. Pull it away from you and the core ends up on the back of the kept piece, so the front shows a soft edge in the paper’s own color.
Tear slowly, moving your holding hand along as you go, and the line stays close to where you want it. For a straighter tear, lay a ruler along the line and pull the paper up against its edge. For a softer, fibrous tear, run a damp paintbrush along the line first and let the water soak in before pulling.
Torn strips make quick grass, hills, waves or cloud lines, and they are one of the simplest handmade border edges for the bottom of a page.
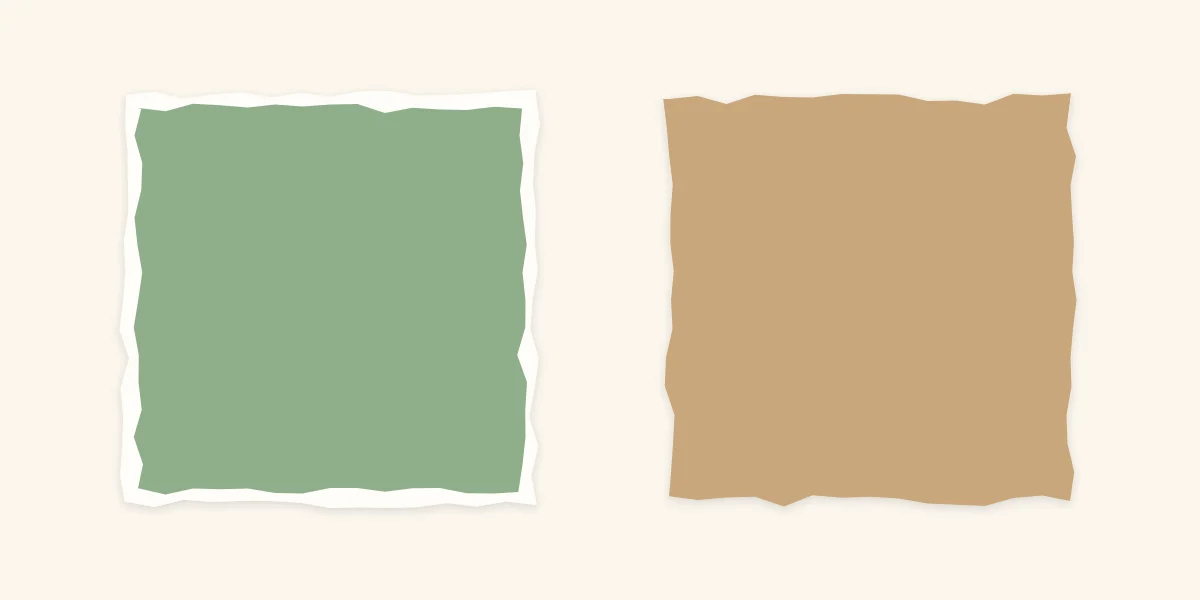
Sanding and scraping
Sanding wears color off the surface instead of adding it. A fine-grit sanding block or a nail file works. Rub lightly along the edges for a worn border, or across the whole face of a white-core sheet so the texture comes up in pale flecks. Embossed patterned paper responds well, because only the raised parts lose their color.
Scraping roughens the edge itself. Hold the piece firmly, set the open blade of a pair of scissors against the edge at a steep angle and pull it along in short strokes. The edge frays and curls slightly. Keep fingers behind the blade and scrape away from your body; children should leave this technique to an adult.
Which technique for which effect
| Technique | Tools | Result | Works best on |
|---|---|---|---|
| Inking | Ink pad, sponge | Soft shadow around the edge | Mats, tags, journaling cards |
| Tearing | Hands, ruler, damp brush | Ragged edge, optional white band | Strips, background layers |
| Sanding | Sanding block or nail file | Pale, worn surface | White-core and embossed paper |
| Scraping | Scissor blade | Frayed, slightly curled edge | Heavy cardstock mats |
Keeping it subtle
Pick one or two pieces per layout to distress, usually the layers nearest the focal photo, and leave the rest clean. If every edge on the page is torn and inked, nothing stands out and the layout looks dirty rather than soft. Matching the ink color across those pieces ties them together.
Tip
Test every technique on an offcut of the same sheet. Paper from different packs takes ink and tears differently, even when the colors look alike.
Distressed edges show to best effect when they overlap something, so they pair naturally with layered paper stacks, where each inked border sits against a different color. Small pieces benefit too: an inked edge is a quick way to finish handmade tags so they do not look freshly cut.
Sanding makes dust and tearing leaves loose fibers. Brush both off before the piece goes on the page and before the layout goes into a page protector, since grit trapped against a print can scratch its surface.
Frequently asked questions
What is the difference between white-core and solid-core cardstock?
Solid-core cardstock is the same color all the way through, so a torn or sanded edge stays that color. White-core cardstock has a colored surface over a white middle, so tearing or sanding reveals a pale line. Tear a corner from an offcut to see which kind you have.
Which ink should I use for inking paper edges?
Dye ink is the usual choice because it soaks in and dries quickly, so it is less likely to smear when the piece is handled. Pick a shade a little darker than the paper, or a soft brown or gray. Apply it with a sponge in light passes so the color builds gradually.
Can I distress the photos themselves?
It is safer to distress the mat and the papers around a photo rather than the print. Sanding and ink change a photo surface permanently and cannot be undone. If you want the effect on a picture, work on a copy and keep the original print or a digital backup.