Scrapbook Page Ideas: 12 Starting Points for a Blank Page
Twelve simple page structures, from a single off-center photo to a grid, a paper band and a pocket, so a blank sheet of cardstock always has a first move.
Tutorial at a glance
Materials
- cardstock for the page base
- patterned paper or paper scraps
- one to six photo copies
- paper trimmer or scissors
- tape runner
- pen for journaling
The hardest part of a layout is the first decision. These scrapbook page ideas give you twelve of them: twelve simple structures you can drop onto blank cardstock so the photos, title and journaling have somewhere to go. None depends on a particular theme, so each works for any set of prints.
Every idea is described for a 12 x 12 in (30.5 x 30.5 cm) page, but the proportions carry over to 8.5 x 11 in and 8 x 8 in pages. Pick one, arrange the pieces dry, and glue only once the gaps look even.
Start from a strip of paper
1. A vertical strip down one side
Glue a strip of patterned paper about 3 in (7.5 cm) wide from top to bottom, a little in from the left edge. Stack two or three photos so they overlap the strip by about half their width. The strip ties the photos into one column and leaves the right side free for journaling.
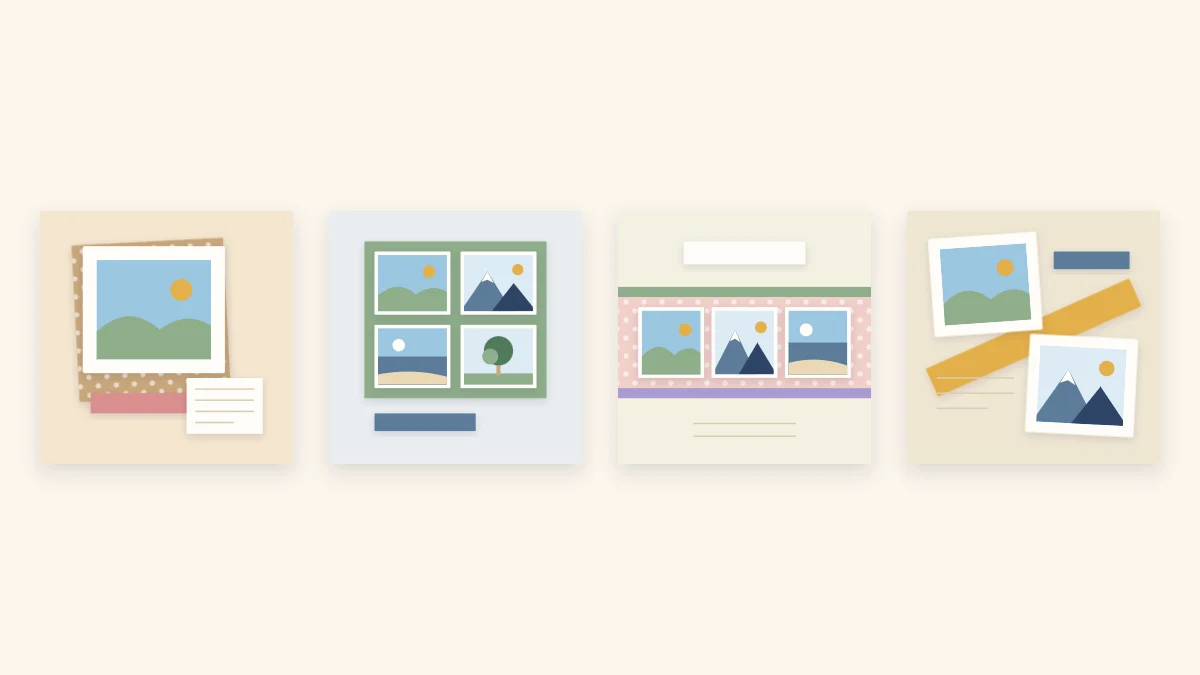
2. A wide horizontal band
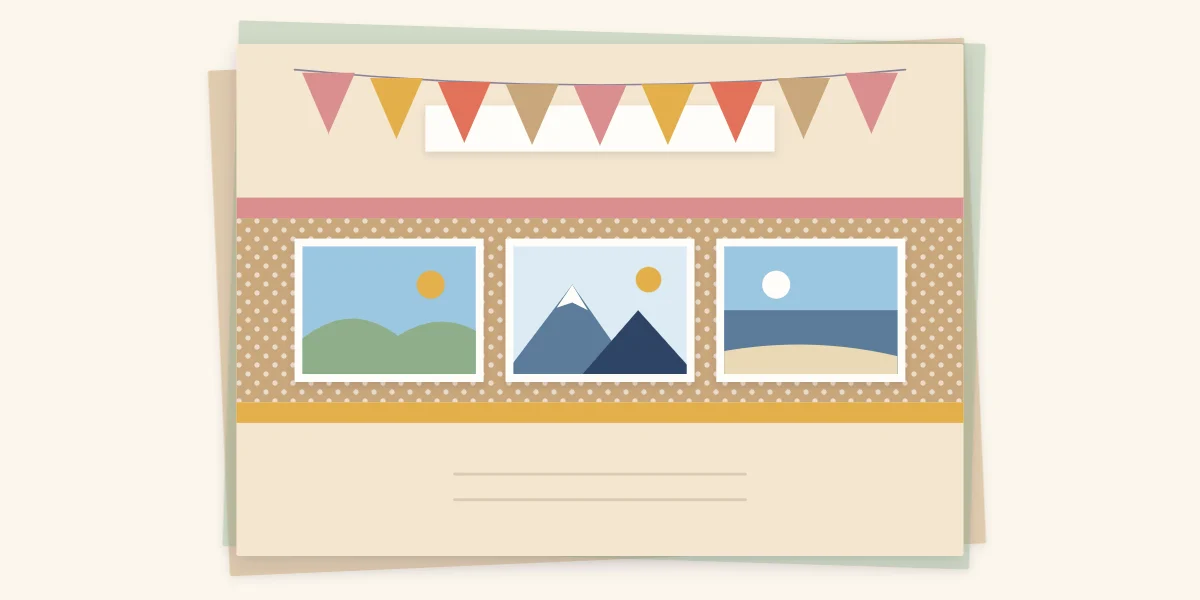
Run a band of patterned paper across the middle of the page, tall enough for your prints to sit on with a narrow margin above and below. Line up three photos along it with equal gaps. Place a title strip above the band and journaling below. Because the band does the organizing, this is one of the most dependable layouts for three photos of the same size.
Start from one photo
3. One large photo, off-center
Mat a single focal photo and place it left or right of center, slightly above the middle. Put the title on the wider side and a small journaling block under the photo. The open cardstock is part of the design, so resist filling it. This suits a strong portrait or a scenic shot.
4. A big shape behind the photo
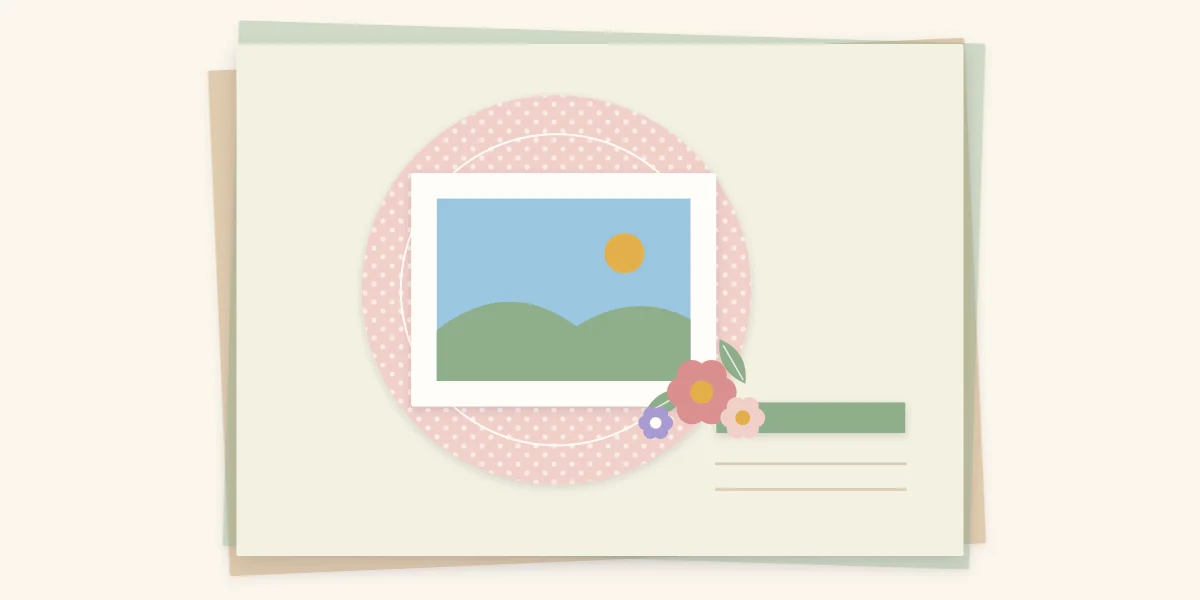
Cut a large circle of patterned paper, roughly two thirds of the page width, and glue it near the center. Set one matted photo so it overlaps the circle’s edge instead of sitting neatly inside it. Add a cluster of paper flowers or other small pieces where the circle meets the photo. The curve softens the straight edges and gives the eye a clear place to start. A large hexagon, heart or star does the same job; handmade paper embellishments are an easy way to build the cluster from leftovers.
Start from a grid
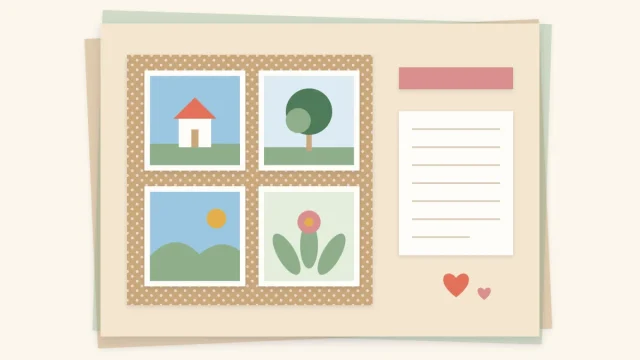
5. A grid of four
Trim four photos to the same size and arrange them two by two with even gaps. Center the block or push it toward one corner and use the remaining L-shaped space for title and journaling. Grids go wrong when the gaps differ, so cut a paper spacer and use it between every pair.
6. A grid with squares swapped out
Plan a grid of six or nine squares, then replace some of them with squares of patterned paper, a journaling square or a small embellishment. This is the answer when you have fewer good photos than the grid needs, and it adds color without extra layers. More arrangements by photo count are in the guide to photo layouts for one to six photos.
Start from an angle or a stack
7. A diagonal pair
Place one photo toward the upper left and a second toward the lower right so their corners nearly touch or slightly overlap in the middle. Put the title in the empty upper right and journaling in the lower left. The diagonal creates movement while both photos stay level.
8. A layered stack in the middle
Build a pile of three or four paper rectangles, each a little smaller than the one beneath and shifted slightly, then top it with the photo. Keep everything else on the page minimal. The technique for layering paper without adding bulk explains how to offset the layers so each color shows.
Start from the words
9. An oversized title
Let the title take up a third of the page: large hand-cut or hand-lettered words across the top or down one side. Fit one or two small photos into the space that remains. This works when the photos are ordinary but the occasion has a strong name.
10. A journaling column
Divide the page into two unequal columns. Fill the narrow one with lined journaling strips from top to bottom and the wide one with photos. Choose this when the story matters more than the pictures, and write on the strips before gluing them.
Start from what is on the desk
11. A row of scrap strips
Cut leftover papers into strips of different widths and glue them side by side to form a block across the lower third of the page. Sit the photos on top of the block like objects on a shelf. Keeping the strips within one color family prevents a patchwork from overwhelming the prints.
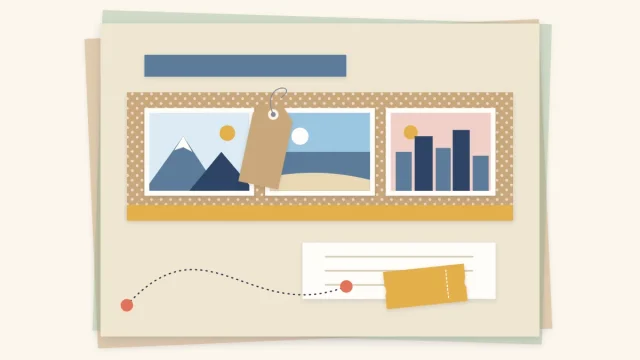
12. A pocket or tag as the centerpiece
Glue a flat paper pocket across the bottom half and slip in tags, a journaling card or flat memorabilia, with one photo above. The pocket gives the page a job beyond display and holds items that would otherwise be glued flat.
Tip
Before committing, sketch the idea as plain boxes on scrap paper: one box per photo, one for the title, one for journaling. If the boxes do not fit in the sketch, they will not fit on the page.
Which idea suits your photos
| You have | Try | Why it works |
|---|---|---|
| One strong photo | Ideas 3, 4 or 8 | Space and layers direct attention to a single print |
| Two photos | Ideas 7 or 9 | A diagonal or a large title balances a pair |
| Three photos | Ideas 1 or 2 | A strip or band lines them up as one unit |
| Four or more | Ideas 5 or 6 | A grid keeps many small photos orderly |
| A long story | Idea 10 | A full column gives the words real room |
| Scraps or memorabilia | Ideas 11 or 12 | Leftovers and keepsakes become the structure |
Whichever you choose, check the result against the basics of page composition: one clear focal photo, balanced weight and some open space.
Frequently asked questions
What is the easiest scrapbook page idea for a beginner?
A single matted photo placed off-center with a title beside it and a small journaling block underneath. It needs only straight cuts, and the open cardstock around the photo makes the page look deliberate with very few pieces.
How do you start a scrapbook page when you have no idea what to do?
Count the photos first, then choose a structure that fits that number: a band or strip for three, a grid for four or more, a large shape or a layered stack for one. Arrange the pieces dry and adjust the gaps before gluing anything.
Do these ideas work on pages smaller than 12 x 12 in?
Yes. The structures are about proportion, so a band, grid or column scales down to 8.5 x 11 in or 8 x 8 in pages. On smaller pages use fewer photos or trim them smaller so the gaps stay clear.