Travel Scrapbook Ideas: Layouts for Trips Near and Far
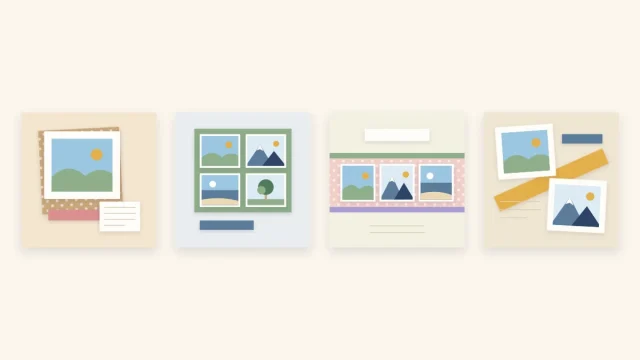
Route map pages, wide scenery bands, day-by-day grids and pocket pages for tickets: generic travel layouts that work for a day out or a long journey.
Tutorial at a glance
Materials
- cardstock in denim blue, kraft and one accent color
- photo copies sorted by day or place
- six-pocket page protector
- paper trimmer or scissors
- tape runner
- fine pen for the dotted route and journaling
- tickets, maps or other flat memorabilia (copies where possible)
Good travel scrapbook ideas solve a specific problem: a trip produces far more photos, tickets and paper bits than one page can hold, and they arrive in no useful order. The layouts below give that pile a structure, whether the trip was a day out an hour from home or several weeks in another country.
All of them are generic arrangements you can adapt to any destination. Start by deciding how the album will be organized, then match a layout to each group of photos.
Decide how to divide the trip
Before cutting any paper, sort the prints into groups. Three ways of dividing a trip work well, and the choice shapes every page that follows.
- By day. One page or spread per day, in order. This suits short trips with a clear schedule.
- By place. One section per town, park or stop, regardless of how long you stayed. Better for road trips and multi-stop journeys.
- By theme. Pages for scenery, buildings, transport, people and small details. Useful when photos from different days look alike.
Whichever you pick, limit each group to the strongest few prints. The process in how to edit down a big stack of photos helps when every shot feels worth keeping.
Open with a route map page
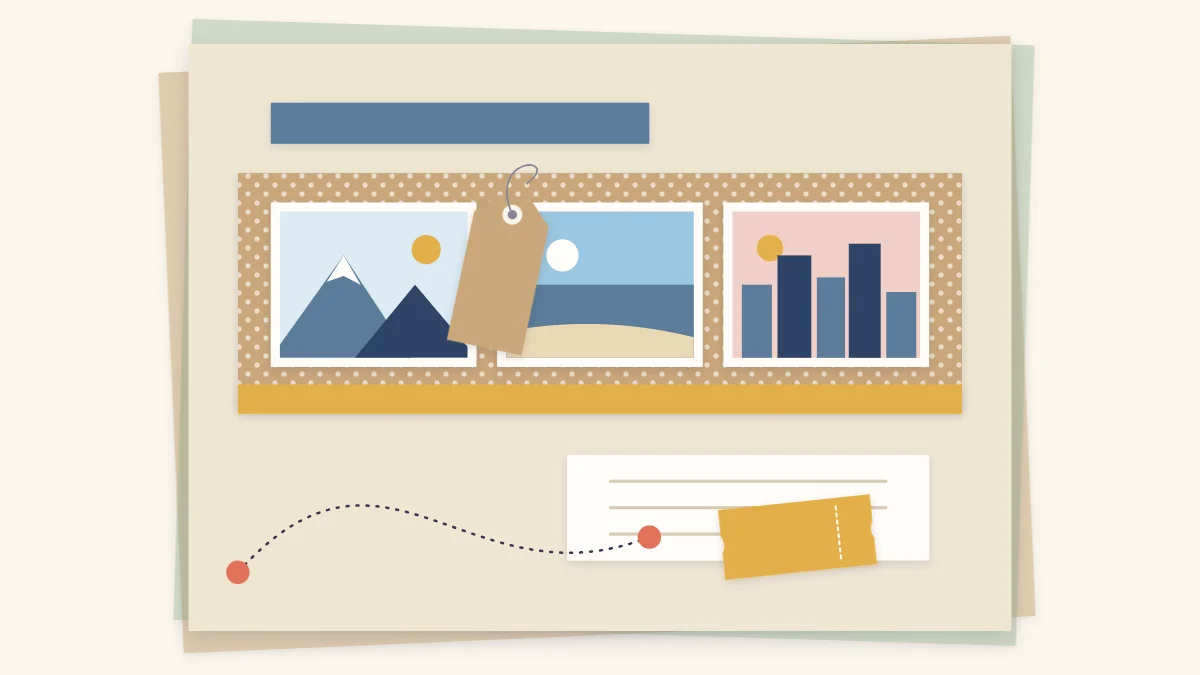
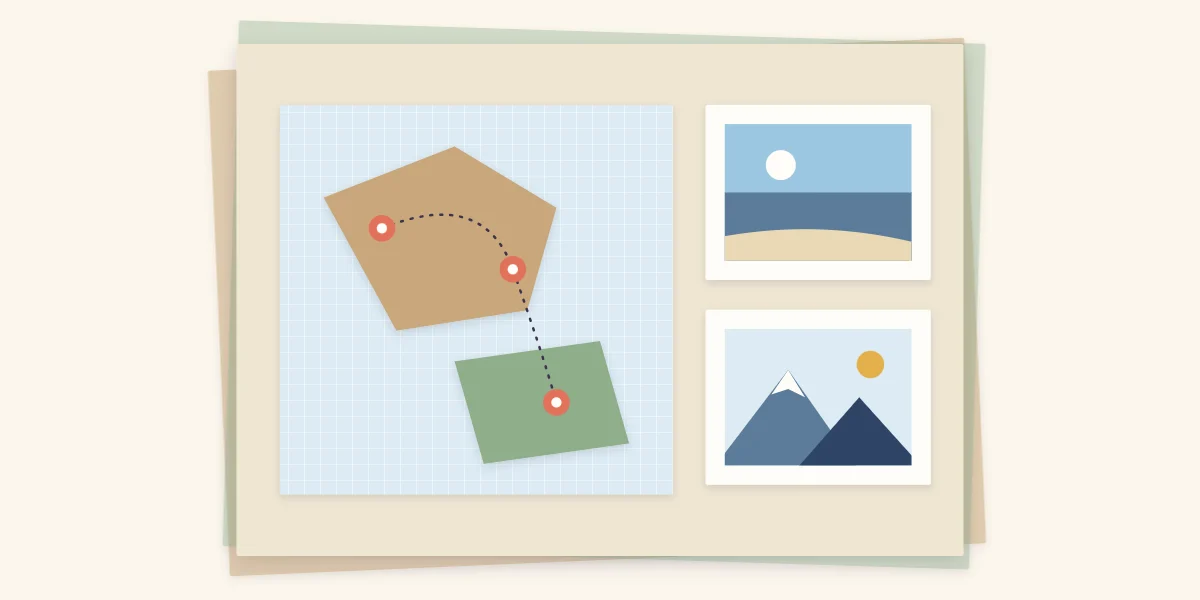
A map page works as a table of contents for the album. It does not need a printed map. Cut a few plain blocks of cardstock into rough land and water shapes and glue them across the left two thirds of the page. Punch or cut three small circles as markers for the main stops and connect them with a dotted line drawn in pen or built from tiny paper dots.
Place two small photos beside the map, each showing a different stop, and write the place names next to the markers. Keeping the shapes simple matters: an approximate outline reads as a map at a glance, while an attempt at accurate coastlines tends to look fussy. If the journey had more than three or four stops, mark only the main ones and list the rest in the journaling.
Give scenery a wide band
Landscape photos lose their effect when trimmed small. For views, run a horizontal band across the page and fill it with one wide print or two or three photos placed edge to edge, so the horizon lines sit at the same height. Keep the cardstock above and below plain, with a narrow title strip and a short journaling block.
For a view that deserves more room, carry the band across both pages of a spread. The guide to designing a two-page spread explains how to handle the center gutter so no important detail is split.
Build a day-by-day grid
When a day produced many small moments, a grid shows them all without crowding. Trim six photos to equal squares and arrange them in two rows of three, or swap one square for a journaling block that records the date and place. Mix distances inside the grid: a wide view, a medium shot and a close-up of a detail such as a sign, a doorway or a tiled floor tell more than six similar views.
Repeat the same grid on each day’s page and the album gains a rhythm that makes it easy to flip through.
Use pocket pages for trip memorabilia
Tickets, folded maps, postcards and luggage tags are awkward to glue and often printed on both sides. A pocket page protector divided into six clear pockets holds them without adhesive. A balanced arrangement is four photos, one ticket and one folded map, with the paper items placed in opposite corners so the page does not look heavier on one side.
Trim photos to the pocket size, slip each item in and add a small card behind anything thin so it stays upright. For memorabilia on a standard cardstock page, a flat paper pocket does the same job; the steps are in how to make flat scrapbook pockets.

Watch out
Printed receipts and some tickets can fade, and their paper may not be labeled acid-free. Photocopy or scan anything you care about, keep the copy in the album and store irreplaceable originals separately.
Choose colors and embellishments that stay quiet
Travel photos are usually colorful already, so the papers should step back. A palette of denim blue, kraft and one warm accent such as mustard suits most destinations. Pull the accent from the photos when a color repeats in them, such as terracotta roofs or green hills.
Hand-cut shapes carry the theme without printed products: a paper strip with notched ends suggests a ticket, a kraft tag stands in for a luggage label, and a dotted line echoes the route from the map page. Paper tags are especially useful here because they hold a date or place name and tuck neatly behind a photo.
Tip
Repeat one element on every page of the trip, such as the dotted line or the same kraft tag shape. A single repeated detail makes separate layouts read as one album.
Journaling that goes beyond the itinerary
Place names and dates are the baseline. Details that photos cannot show are what make the pages worth rereading:
- the weather and how it changed the plan;
- what you heard or smelled at a particular stop;
- something that went wrong and how it was sorted out;
- a phrase learned, a route taken by mistake, a view found by chance.
Write short notes on strips or tags as soon as the trip ends, while the order of events is still clear.
Matching the layout to the trip
| Type of trip | Best starting layout | Why |
|---|---|---|
| Day trip close to home | One page with a wide band | A few photos and one short story fit a single layout |
| Weekend in one place | A spread with a day-by-day grid | Each day gets one page of equal weight |
| Road trip with several stops | Route map page, then a page per stop | The map explains the order of the pages after it |
| Long journey with lots of paper keepsakes | Pocket pages between standard layouts | Memorabilia has a home without extra bulk on the page |
Frequently asked questions
How do you organize a travel scrapbook?
Choose one system before you start: by day, by place or by theme. Sort the prints into those groups, keep only the strongest few from each, and give every group its own page or spread. An opening map page helps tie the sections together.
What do you do with tickets and maps in a travel scrapbook?
Slip them into a pocket page protector or a flat paper pocket so they are held without glue and both sides can still be read. Because some printed papers fade, copy or scan the ones that matter and keep originals of irreplaceable items stored separately.
Do you need a real map for a route map page?
No. A few plain paper blocks cut into rough land and water shapes, small round markers for the stops and a dotted line between them are enough. Simple shapes read as a map more clearly than a detailed outline.