Scrapbooking for Beginners: How to Start Your First Album
A first scrapbook page needs one photo, a sheet of cardstock and a fixed order of work. Here is how to pick a story, choose a page size and build the page in four stages.
Tutorial at a glance
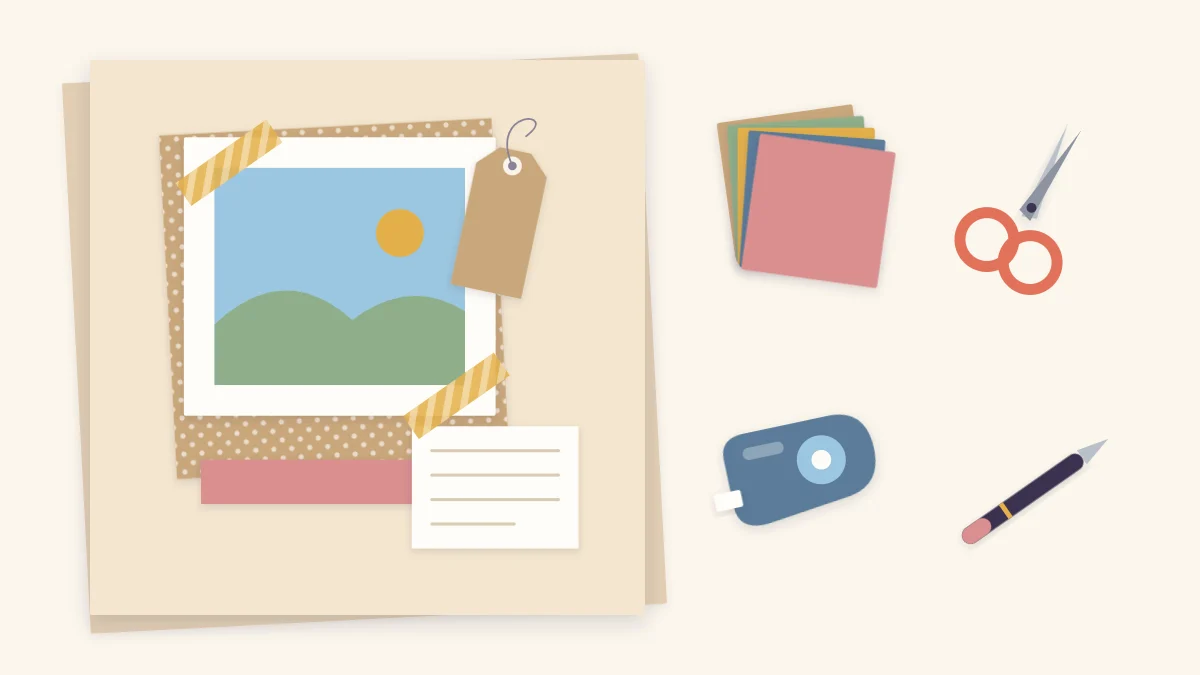
Materials
- Album with page protectors
- Solid cardstock in two or three colors
- One or two sheets of patterned paper
- Scissors or a paper trimmer
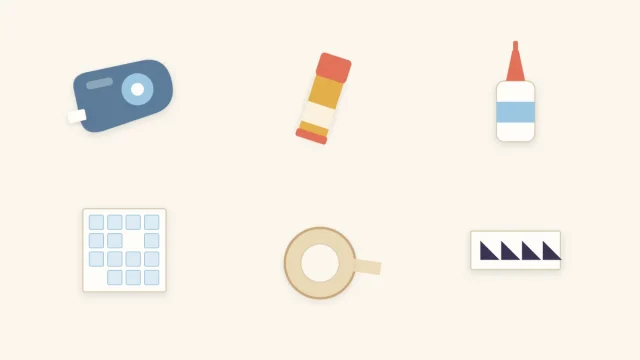
- Tape runner
- Pen that does not smear
- A few small embellishments such as buttons or washi tape
- Printed copies of your photos
Scrapbooking for beginners comes down to one small, repeatable job: put a photo on a sheet of cardstock, say what it shows, and add a little decoration. Everything else in the hobby is a variation on that. A first album does not need a room full of tools or a finished plan for every page, only a handful of prints and a clear order of work.
The fastest way to learn is to finish one plain page before buying or planning anything larger. A finished page teaches you how much space a photo takes, how adhesive behaves and how much decoration you actually like, which no amount of browsing can tell you.
Pick one small story first
Choose a single event or theme with a natural beginning and end: a birthday, a beach trip, a season in the garden, a pet’s first months. A narrow subject keeps the photo pile manageable and gives the album an obvious last page, so it gets finished instead of drifting.
Avoid starting with “everything from the last ten years”. A project that large has no clear first page, and the sorting alone can stall it. If the stack is already big, the guide to choosing photos for a scrapbook shows how to cut it down before any paper is involved.
Print copies rather than using one-of-a-kind originals. You will trim photos to fit, and a cut cannot be undone. Keep the originals or digital files stored separately.
Gather a short list of supplies
A first page needs very little:
- An album with page protectors in one size
- Solid cardstock in two or three colors that suit your photos
- One or two sheets of patterned paper
- Scissors or a paper trimmer
- A tape runner or other dry adhesive
- A pen that does not smear on your paper
Look for the labels acid-free and lignin-free on paper and adhesive packages; they indicate products made without components known to discolor paper over time. The full breakdown of scrapbooking supplies you need and what can wait covers each item and the extras worth adding later.
Decide on a page size
Page size decides how many photos fit and how much paper you use, and it is awkward to change midway because protectors and albums are sold by size. The two most common choices for a first album compare like this:
| Page size | Holds comfortably | Good for | Drawback |
|---|---|---|---|
| 12 x 12 in (30.5 x 30.5 cm) | One to six 4 x 6 in prints | Events with many photos, the widest paper choice | More space to fill; a larger album to store |
| 8 x 8 in (20.3 x 20.3 cm) | One or two prints | Short stories, gifts, quick pages | Photos often need trimming or smaller prints |
If you are unsure, 12 x 12 in is the easier starting point because most cardstock is sold in that size and needs no cutting to become a page base. Bindings and protector styles are compared in the guide on how to choose a scrapbook album.
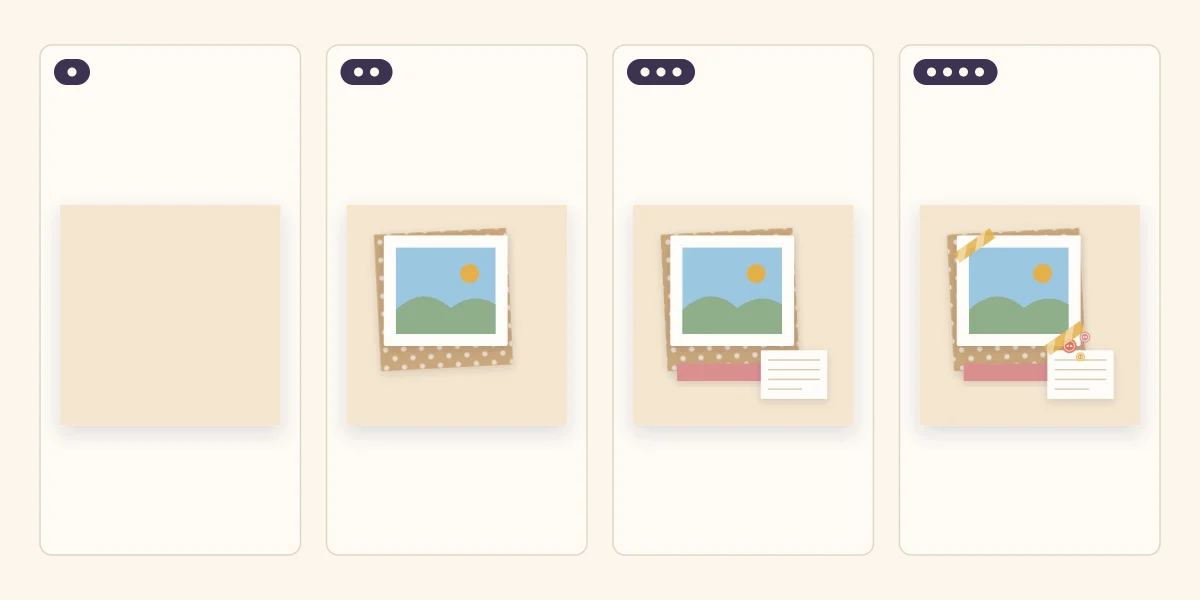
Build the page in four stages
Working in a fixed order prevents the most common beginner problem: sticking down decoration first and then finding no room for the photo or the words. Lay everything out loose, adjust, and glue only when the arrangement looks right.
- Start with a blank base. Choose one sheet of solid cardstock in a color that appears somewhere in the photo, or a neutral such as cream or kraft. A calm base lets the photo stand out.
- Mat and place the photo. Glue the photo to a piece of contrasting cardstock cut about 1/4 inch (6 mm) larger on each side. Set the matted photo slightly off-center rather than dead in the middle, leaving a wider area of empty page on one side.
- Add the title and journaling. Use the empty area for a title strip and a block of lines for writing. Put these on before decoration so they get proper space instead of being squeezed into leftovers.
- Finish with a few embellishments. Add a small number of pieces, such as two or three buttons and a strip of washi tape, gathered near a corner of the photo rather than spread over the page.
Tip
Before gluing, step back or hold the page at arm’s length. Crooked photos and crowded corners are much easier to see from a distance than from directly above.
Write the journaling while you remember
Journaling is the written part of the page, and it is what separates a scrapbook from a photo album. Cover the facts a stranger could not get from the picture: who is in it, where and when it was taken, and one detail about what was happening just outside the frame.
Two or three plain sentences are enough. If your handwriting worries you, rule light pencil lines first, write on a separate strip of paper so a mistake costs only the strip, and erase the lines once the ink is dry.
Keep the next pages consistent
An album looks finished when its pages share something. Pick two or three colors and one neutral and repeat them through the whole project, and keep one habit constant, such as the same mat width or the title always in the same corner.
Vary the number of photos instead of the style. One page with a single large photo followed by a page with four smaller ones gives the album rhythm without extra supplies. Arrangements for different photo counts are laid out in the guide to scrapbook photo layouts.
What going wrong looks like
Most first pages fail in the same few ways, and each has a simple fix:
- Too many photos. If prints overlap or touch the page edges, remove one. The page reads better with space around each picture.
- Busy paper behind the photo. A strong pattern right next to a photo competes with it. Put a solid mat between them.
- Decoration everywhere. Embellishments dotted evenly across the page pull the eye away from the photo. Gather them into one cluster.
- No words. A page with no date or names loses its meaning quickly. Add at least one line.
Watch out
Trimmer blades and craft knives are sharp. Cut on a mat, keep fingers behind the blade, and supervise children when cutting tools are out.
Frequently asked questions
How many photos should go on a first scrapbook page?
One or two is the easiest number to start with. A single matted photo leaves clear room for a title and journaling, and it lets you practice placement before you try grids of four or six.
Should the journaling or the embellishments go on first?
Place the title and journaling first. Words need a defined block of space, while embellishments can be tucked into whatever room is left. Decorating first usually leaves the writing squeezed into a corner.
Is it better to use original photos or copies?
Use copies whenever you plan to trim a photo, because a cut cannot be reversed. Keep original prints or digital backups of anything irreplaceable stored separately from the album.